This article was co-authored by wikiHow Staff. Our trained team of editors and researchers validate articles for accuracy and comprehensiveness. wikiHow's Content Management Team carefully monitors the work from our editorial staff to ensure that each article is backed by trusted research and meets our high quality standards.
The wikiHow Tech Team also followed the article's instructions and verified that they work.
This article has been viewed 86,851 times.
Learn more...
This wikiHow teaches you how to switch to the Street View mode at a map location on Google Maps, and view real photographs of the streets, using an iPhone or iPad.
Things You Should Know
- To see real photographs of streets in Google Maps, you can enable Street View.
- Street View allows you to navigate unfamiliar streets beforehand.
- You must have the Google Maps app installed.
Steps
-
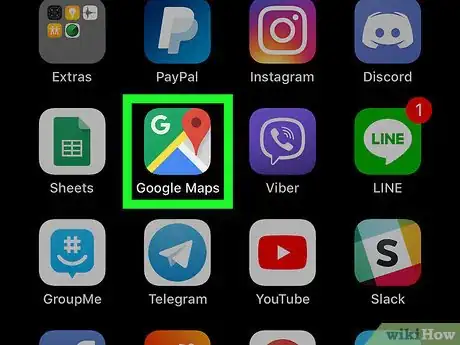
1Open the Google Maps app on your iPhone or iPad. The Maps icon looks like a tiny map with a red location pin on it. You can find it on your home screen or in an app folder.
-
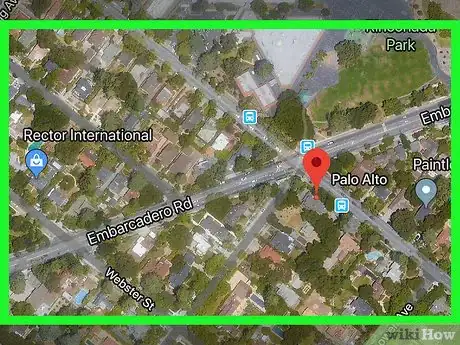
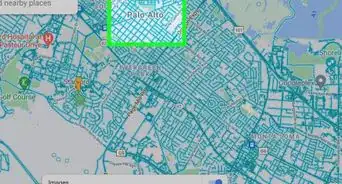
2Find the location you want to view on the map. You can tap, hold, and drag your screen to move around the map, or pinch out with two fingers to zoom in on a location.Advertisement
-
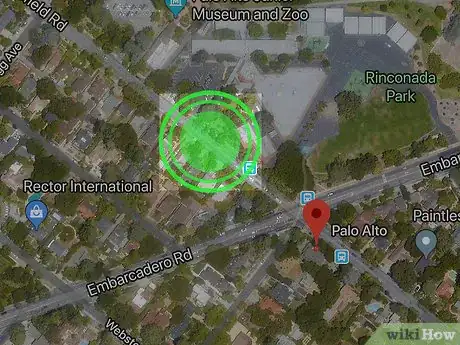
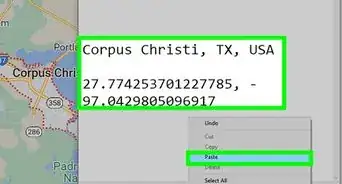
3Tap and hold the location you want to view. This will drop a red pin on the map at the selected location. Your location's address will show up at the bottom of your screen.
-
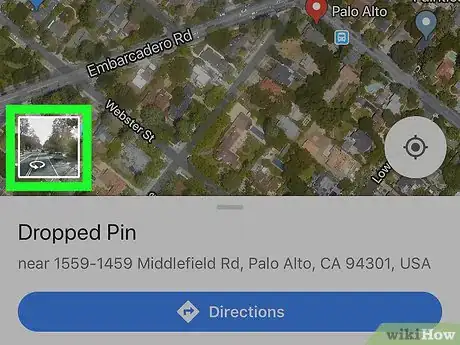
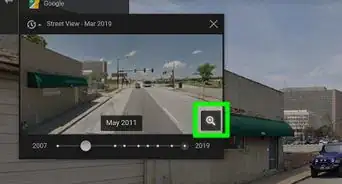
4Tap the photo thumbnail on the bottom-left corner. Your location's Street View thumbnail will show up in the lower-left corner of the map when you drop a pin. This will open the selected location in full-screen Street View mode.
-
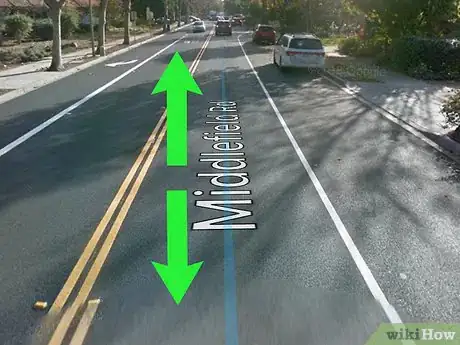
5Swipe up and down along the blue road lines. Available roads and routes are indicated with blue lines on the ground in Street View. You can walk around the city or the country by swiping on these blue road lines.
About This Article
1. Open Google Maps.
2. Tap and hold a location.
3. Tap the photo thumbnail on the bottom-left.
