This article was co-authored by wikiHow staff writer, Jack Lloyd. Jack Lloyd is a Technology Writer and Editor for wikiHow. He has over two years of experience writing and editing technology-related articles. He is technology enthusiast and an English teacher.
The wikiHow Tech Team also followed the article's instructions and verified that they work.
This article has been viewed 415,141 times.
Learn more...
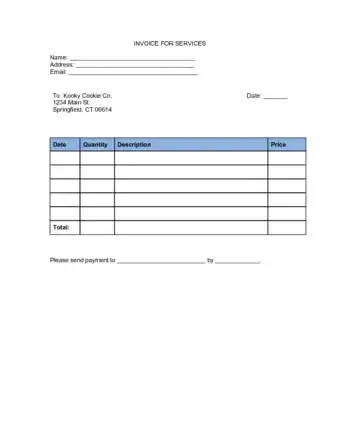
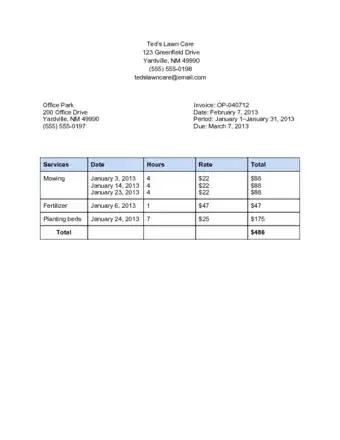
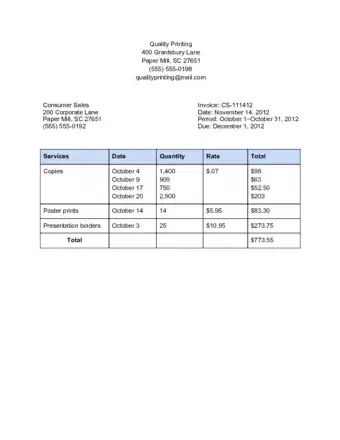
This wikiHow teaches you how to create a business invoice in Microsoft Excel for both Windows and Mac computers. You can create an invoice manually, or you can select an invoice template.
Steps
Using a Template on Windows
-
1Open Microsoft Excel. It's a green icon with a white "X" on it. The Microsoft Excel home page will open.
-
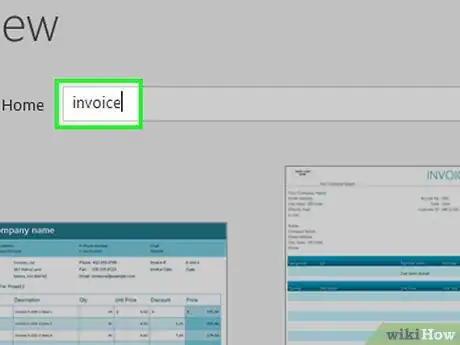
2Search for an invoice template. Type invoice into the search bar at the top of the page, then press ↵ Enter to search for invoice templates.
- You must be connected to the Internet in order to search for templates.
Advertisement -
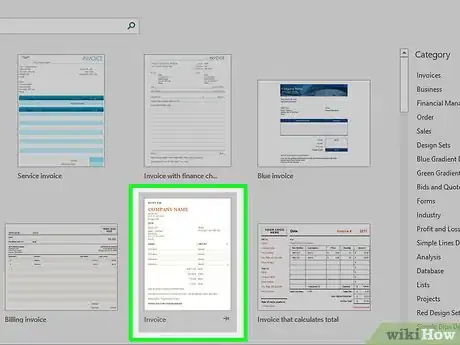
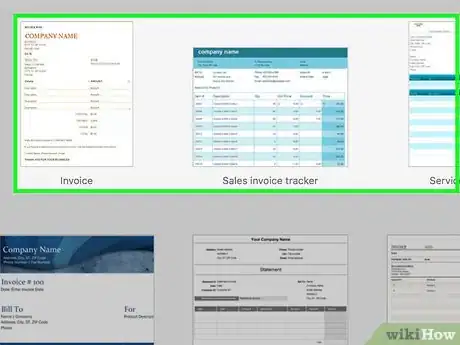
3Select a template. Click a template that you want to use to open it in a window.
-
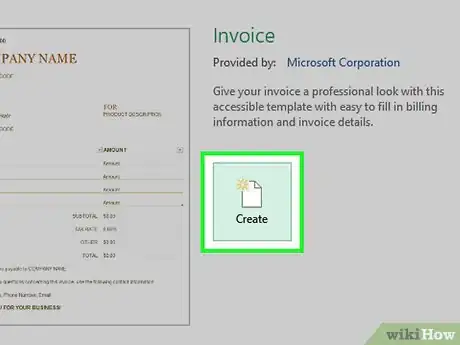
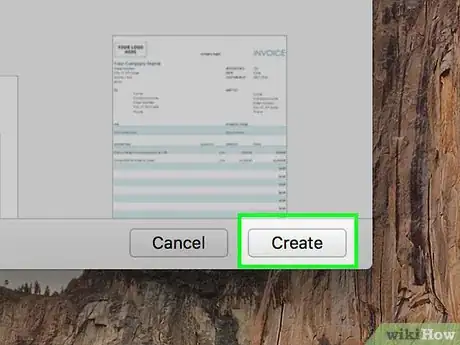
4Click Create. This button is to the right of the template's preview. Doing so will open the template in Microsoft Excel.
-
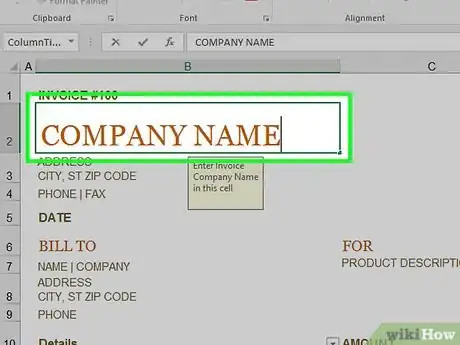
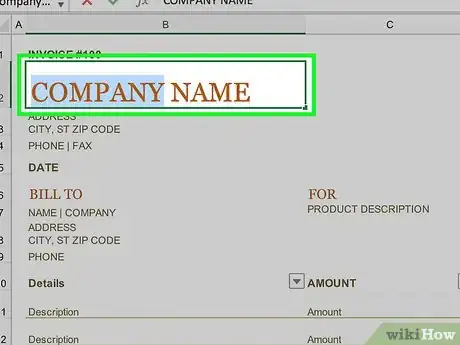
5Edit the template to fit your needs. For example, most templates have "Company" written across the top; you would replace this heading with your company's name.
- To edit text on the Excel document, double-click the text item, then remove the text item or replace it with your own.
-
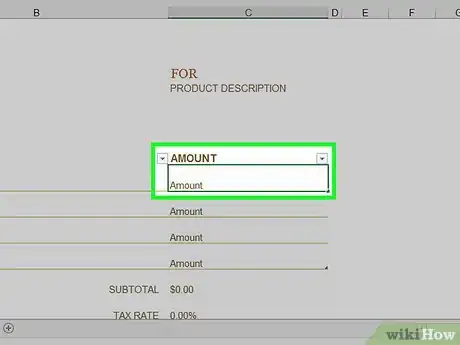
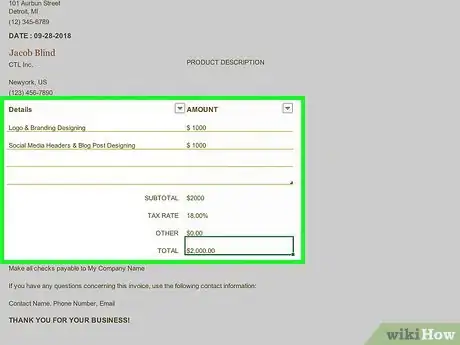
6Fill out the invoice. Enter any information required by your invoice template to ensure that the final total matches what you're owed.
- For example, some invoice templates will require you to enter an hourly rate or a fixed charge.
- Most invoice templates use formulas to combine your entered hourly and the number of hours worked in the "Final Total" box.
-
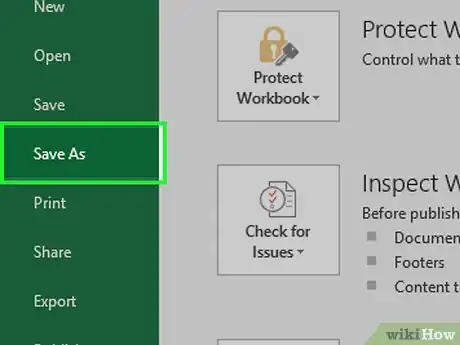
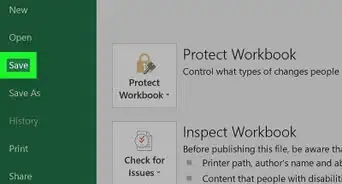
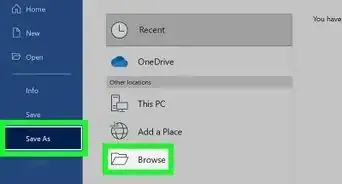
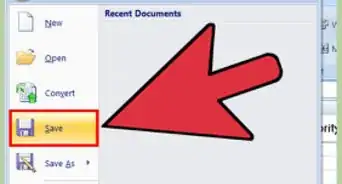
7Save your invoice. Click File in the upper-left side of the page, click Save As, double-click a save location, enter your invoice's name, and click Save. This will save your customized invoice in your selected save location. Your invoice is now ready to be sent.
Using a Template on Mac
-
1Open Microsoft Excel. It's a green box with a white "X" on it. Excel will open.
-
2Click File. This menu item is in the top-left side of the page. A drop-down menu will appear below it.
-
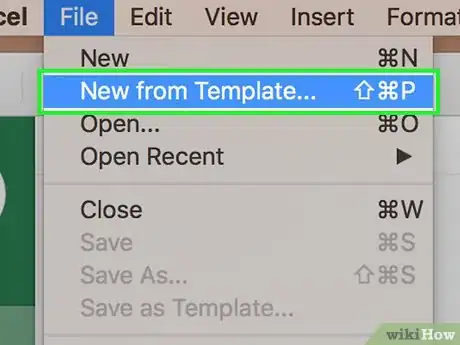
3Click New from Template. It's an option in the File drop-down menu. Doing so opens a new page with template options.
-
4Search for an invoice template. Type invoice into the search bar in the top-right corner of the page, then press ⏎ Return.
- You must be connected to the Internet in order to search for templates.
-
5Select a template. Click a template to open a preview window with the template displayed.
-
6Click Open. It's in the preview window. This will open the invoice template as a new document.
-
7Edit the template to fit your needs. For example, most templates have "Company" written across the top; you would replace this heading with your company's name.
- To edit text on the Excel document, double-click the text item, then remove the text item or replace it with your own.
-
8Fill out the invoice. Enter any information required by your invoice template to ensure that the final total matches what you're owed.
- For example, some invoice templates will require you to enter an hourly rate or a fixed charge.
- Most invoice templates use formulas to combine your entered hourly and the number of hours worked in the "Final Total" box.
-
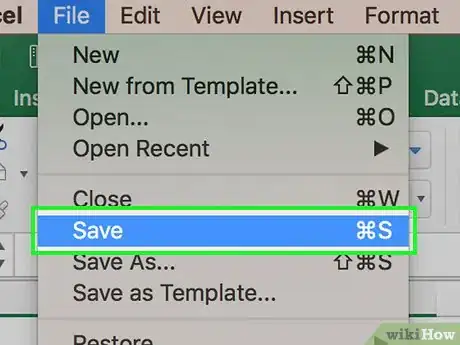
9Save your invoice. Click the File menu item, click Save As, enter a name for your invoice, and click Save. Your invoice is now ready to be sent.
Creating an Invoice Manually
-
1Open Microsoft Excel. It's a green box with a white "X" on it. The Microsoft Excel home page will open.
-
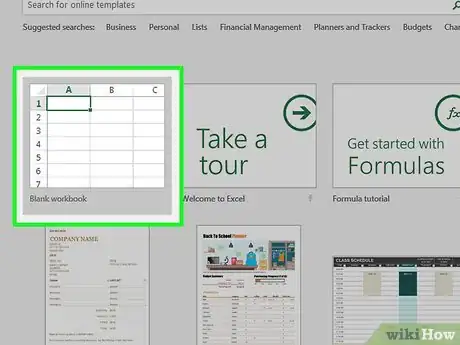
2Click Blank Workbook. This option is in the upper-left side of the Excel home page. A blank spreadsheet will open.
- On Mac, skip this step if Excel opens to a blank document.
-
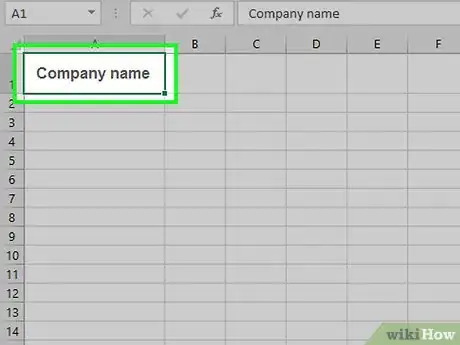
3Create the invoice heading. Your heading should include the following information:
- Company name - The name of the company to whom the invoice funds will be allocated.
- Descriptor - The word "Invoice" or a description of the type of invoice it is, such as "Price Quote" if you're quoting a price for your services to a client instead of billing for them.
- Date - The date on which you're writing the invoice.
- Number - The invoice number. You can either use a global numbering system for all your clients or individual numbering for each client. If you choose to number for each client, you can include the client name or a form of it in the invoice number, such as "Westwood1."
-
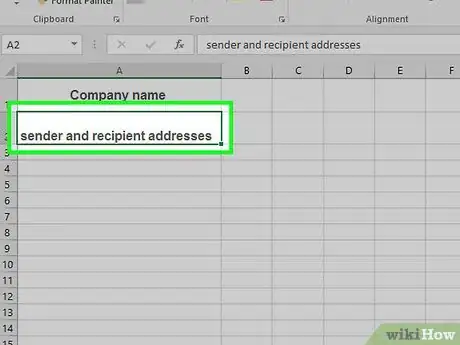
4Enter the sender and recipient addresses. This information should appear near the top of the invoice, with your information above the client's.
- Your contact information should include your name, your company's address, a phone number, and an email address.
- Your client's information should include the company name, the name of the accounts payable person, and the client address. You can also include the client's phone and email address.
-
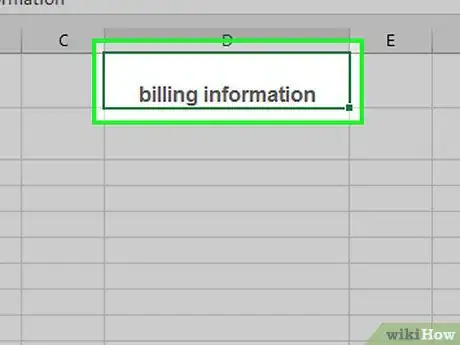
5Enter your billing information. You can devote a column to a short description of the product or service, a column to quantity, a column to unit price or rate, and a calculated column for the total price for the quantity purchased of that item.
-
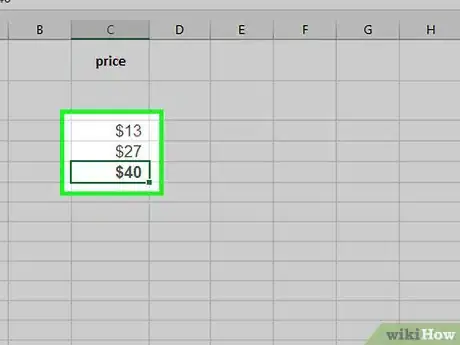
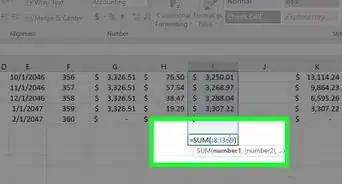
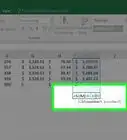
6Display the amount of the total bill. This should appear below the calculated column of individual charges and can be generated with Excel's SUM function.
- For example: if you have $13 of work in cell B3 and $27 of work in B4, you might put the formula =SUM(B3,B4) in cell B5 to display $40 in that cell.
- If you used an hourly rate (e.g., $30) in cell B3 and a number of hours (e.g., 3) in B4, you would instead write =SUM(B3*B4) in cell B5.
-
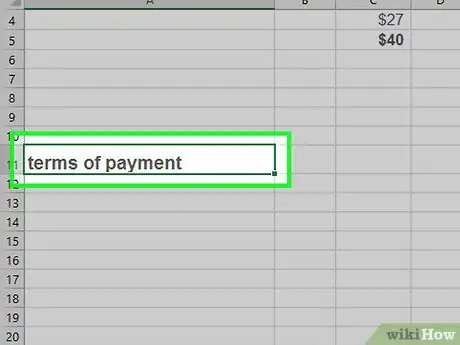
7Include the terms of payment. This can appear either above or below the billing information. Common payment terms are "Due on receipt," "Due within 14 days," "Due within 30 days," or "Due within 60 days."
- You may also want to include a memo at the bottom of the invoice covering accepted methods of payment, general information, or a thank-you to your customer for shopping with you.
-
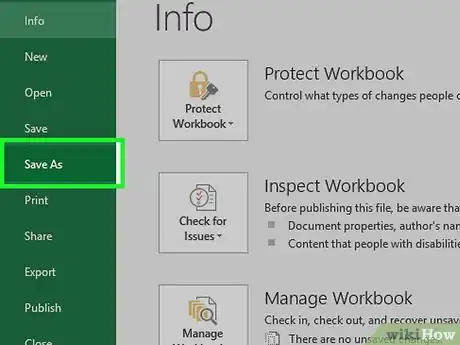
8Save your invoice. Use a name that will distinguish the invoice from other invoices you've sent to your client if necessary. To save your invoice:
- Windows - Click File in the upper-left side of the page, click Save As, double-click a save location, enter your invoice's name, and click Save.
- Mac - Click the File menu item, click Save As, enter a name for your invoice, and click Save.
Community Q&A
-
QuestionHow do I create invoices that automatically add an invoice number?
 Community AnswerYou have to do it manually, but you can avoid errors by saving invoices in Excel sheets instead of different Excel documents.
Warnings
- It's better to be more detailed than less detailed when creating an invoice.⧼thumbs_response⧽
About This Article
1. Open Excel.
2. Search for an invoice template.
3. Select a template and click Create.
4. Edit the template to fit your needs.
5. Fill out the invoice.
6. Save the file.

