This article was co-authored by wikiHow Staff. Our trained team of editors and researchers validate articles for accuracy and comprehensiveness. wikiHow's Content Management Team carefully monitors the work from our editorial staff to ensure that each article is backed by trusted research and meets our high quality standards.
There are 29 references cited in this article, which can be found at the bottom of the page.
This article has been viewed 44,660 times.
Learn more...
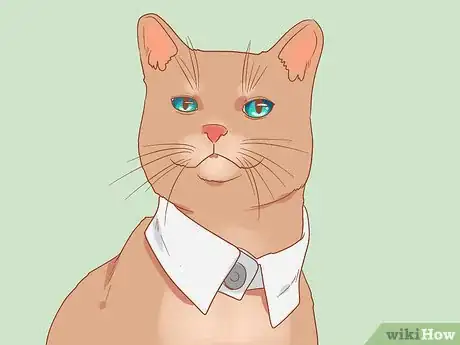
If you love cats and DIY projects, making a homemade cat collar will be a fun activity! Make a secure, adjustable collar for active outdoor cats, make a bow-tie collar out of fabric and elastic, or repurpose a child’s button-up shirt to make a cute and fashionable cat collar. With a little bit of time and patience, you’ll be able to fashion new accessories for your feline friend with ease.
Steps
Sewing an Adjustable Clasped Collar
-
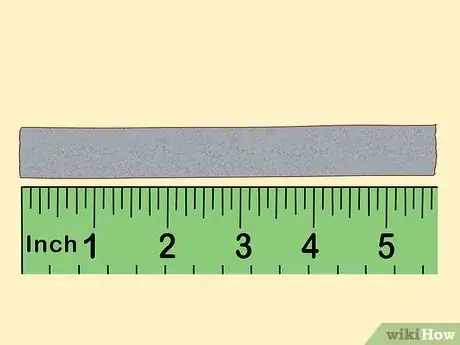
1Cut a 5.5 in (14 cm) length of cord and seal the ends. Either paracord or nylon webbing are most often used for pet collars, and these can be found at most craft stores. Choose a cord that is 1⁄4 to 1⁄2 inch (0.64 to 1.27 cm) wide, just depending on what kind of look you prefer. On the edges where you made your cuts, use the fabric sealant to keep the edges from fraying over time.[1]
- This length of cord will make the adjustable section of the collar. There will be another longer section that comprises the majority of the collar, too.
- You can buy cat-collar kits online, which will include all the basic supplies you’ll need, or you can buy the materials needed from your local craft store.
-
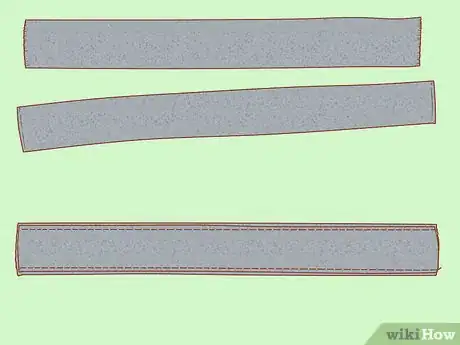
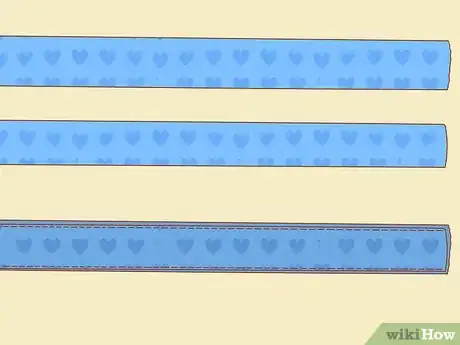
2Match fabric to the size of the cord and sew them together. Use a ruler and a marker to measure out a swatch of fabric that matches the length and width of the cord. Cut out the fabric, and then use a sewing machine to fasten the fabric and cord together. Pin the fabric pattern-side up along the length of the cord. Sew along the top and bottom of the cord so that the fabric is completely connected.[2]
- Use straight pins to keep the fabric in the right position while you sew it.
- Keep your stitches as close to the edge of the cord as you can. This way, there won’t be any flapping sections of fabric.
- Use a walking foot if your sewing machine has one. This’ll just help you make neater looking stitches.
Advertisement -
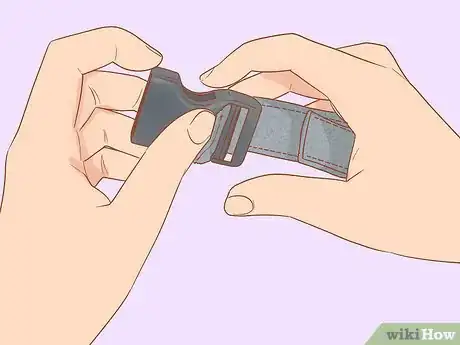
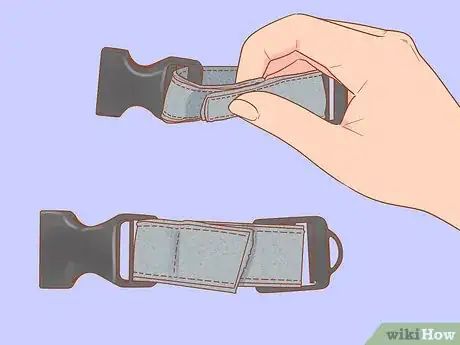
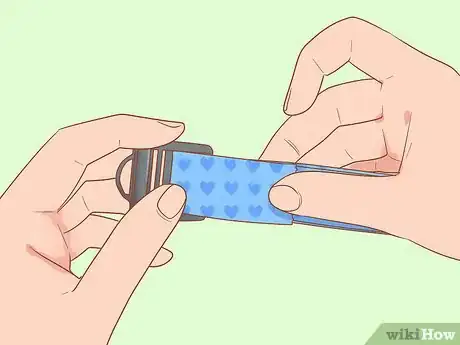
3Connect a parachute buckle to one side of the cord. A parachute buckle resembles a seatbelt in that there is one side that clips into the other. You can find parachute buckles at most craft stores. Flip the strap over so it is fabric-side down. Separate the parachute buckle so it’s in 2 pieces (the pronged side is the “male” side and the receiving side is the “female side"). Take the female side, turn it so that the ridges are facing down, and thread the left side of the cord up through the bottom rung of the parachute buckle.[3]
- Leave the male side of the buckle off at this time. It’ll get connected to the collar later.
-
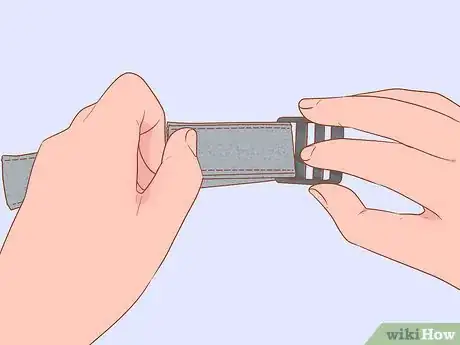
4Thread a strap adjuster to the other side of the cord. Take the right end of the cord and put it through the bottom rung of the strap adjuster. It’s okay if the adjuster moves around easily on the cord—it’ll be held in place later once the collar is finished.[4]
-
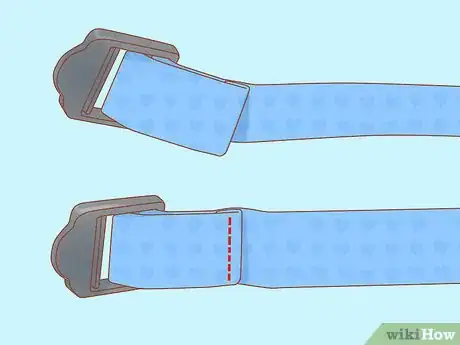
5Overlap the ends by 1 in (2.5 cm) and sew them together. For this step, sew the interior edge so that a small exterior section of fabric remains loose. Use a straight pin to keep the ends together and in line. Turn the connected section inside out so you can make the stitches on the inside (rather than across the patterned/fabric side). Stitch back and forth 2 to 3 times to create a secure seal on the fabric.[5]
- For a neater edge, you could also fold the edge of the cord in about 1⁄4 in (0.64 cm) and sew that section down, but either way will work just fine.
-
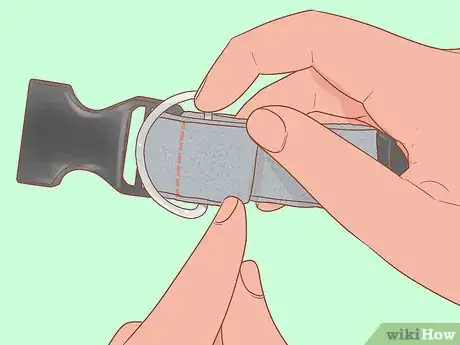
6Sew a D-ring between the cord and the loose flap of material. You can buy a D-ring from most craft stores—it is a small silver “D” shaped object. Take the D-ring and slide it in place between the cord you just sewed and the loose section. Use your sewing machine to fasten the end of the loose cord to the rest of the fabric so that the D-ring is enclosed.[6]
- If you have a cat that doesn’t go outdoors and doesn’t need an identification tag, then you can skip the entire D-ring step. It’s mainly for attaching those I.D. cards to the collar or for using a leash, if you happen to walk your cat.
-
7Measure your cat’s neck and cut out more cord and fabric. Take a flexible tape measure and loosely wrap it around your cat’s neck. Adjust the fit so that you can still stick 2 fingers underneath the tape measure easily. Add 3 inches (7.6 cm) to that measurement, and cut off that amount from the cord. Cut out the same width and length of fabric, too.[7]
- This collar is adjustable, so don’t worry if the length seems too long. You can always make it shorter, but you can’t make it longer!
-
8Attach the fabric and cord, and seal the ends with fabric sealer. Like you did with the shorter piece of cord, pin the fabric in place, fabric-side up, and then sew it onto the cord on both sides. Keep the stitches as close to the edge as possible. Then, use the fabric sealer on both ends of the cord to take care of any potential fraying issues.[8]
- The fabric sealer isn’t required, but it’s inexpensive to buy and it’s a good precaution that can keep your cat’s collar in better condition for a longer period of time.
-
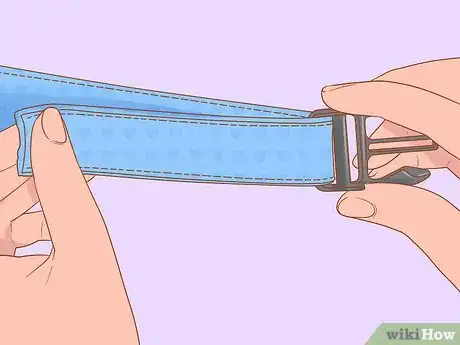
9Connect the remaining strap adjuster to the left side of the long cord. Flip the cord so that the fabric is facing down. Keep the strap adjuster ridge-side up this time. Thread the cord up through the bottom section and then back through the top hole of the strap adjuster.[9]
- If you notice the strap adjuster is cracked or misshapen at all, use a new one. You don’t want to risk it accidentally breaking and scratching your cat.
-
10Pull the cord through the adjuster and sew the edge down. Bring the cord through about 1.5 inches (3.8 cm). Use your sewing machine to secure down the edge of the cord so that adjuster is fully attached.[10]
- Try really hard to keep the edges of the cord straight when you sew to prevent any weird ripples in the fabric.
-
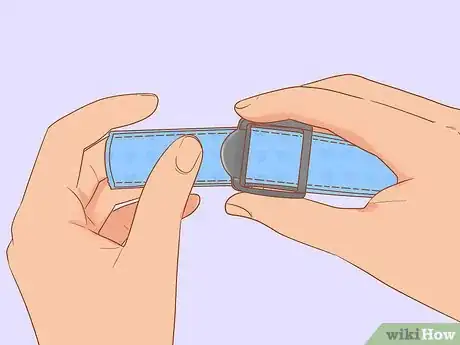
11Put the male side of the buckle through the right side of the cord. Check to make sure your cord is fabric-side down, but keep the buckle right-side up. Thread the right side end of the cord up through the first hole.[11]
- If you get confused about which side of the buckle should be up, just fasten the male and female side together to make sure they can connect. If they can, that’s the right way. If not, flip the male side over.
-
12Feed the end of the cord through the strap adjuster. Take the end you just passed through the buckle and thread it through the bottom of the adjuster and then back through the top of the adjuster (skipping over the middle section entirely). Pull it so you have 2 to 3 in (5.1 to 7.6 cm) to work with.[12]
- If your adjuster only has 2 rows, just take the cord back through the top row. The effect will be the same.
-
13Secure the open edge to the adjuster on the short piece of cord. Thread the open end up through the first hole on the adjuster, and then take it back down through the middle section. Pull the end through 1 in (2.5 cm) and sew it into place.[13]
- Remember to stitch back and forth over the edge several times to make it secure.
-
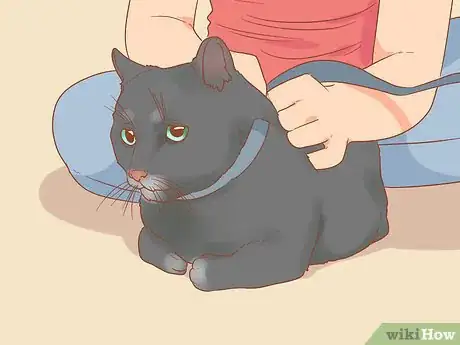
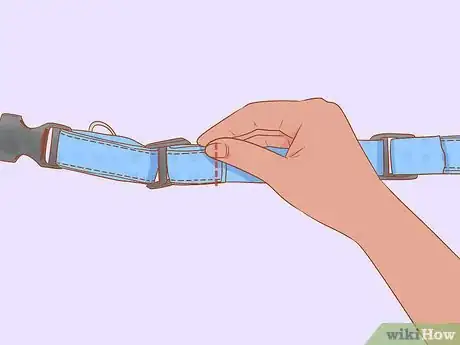
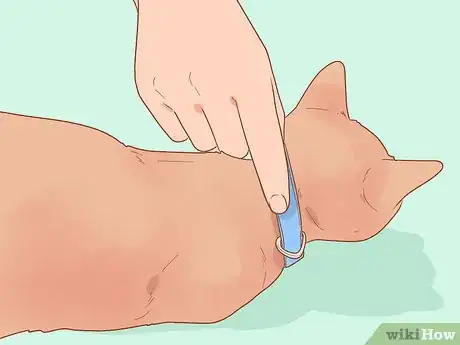
14Clip the collar on your cat and adjust the tightness as needed! Use the D-ring to hang the identification tags if you have any. Make sure you can fit 2 fingers under the collar to ensure your cat is comfortable and safe. To adjust the collar and make it smaller, pull the fabric through the adjuster toward the male end of the clip. To make it bigger, pull the fabric through the adjuster heading away from the male end of the clip.[14]
- These collars make great gifts! You can match the fabric to the cat’s personality, and it’s really easy to make them larger for your canine friends, too.
Creating a Bow-Tie Collar
-
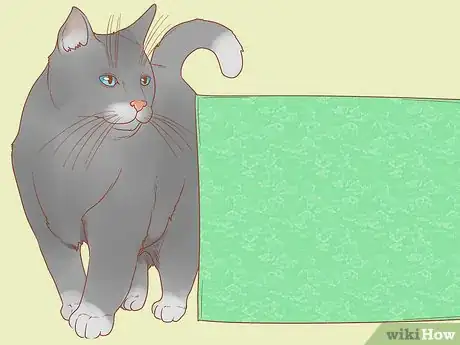
1Choose a fabric that matches your cat’s personality. This is one of the most fun parts of the crafting process. Think about your feline friend—what kind of personality do they have? Are they more active or lazy? Do they have a favorite activity or toy? Choose a fabric that reminds you of them. Opt for cotton fabric, as it’ll be softer and gentler on your cat that a synthetic fiber would be.[15]
- For example, if you have a cat that loves to watch the outdoor wildlife, you could pick a fabric patterned with birds.
- Because this craft doesn’t require much fabric, you could also use scraps from other projects you’ve completed.
-
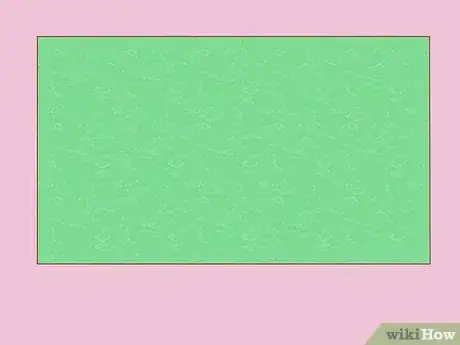
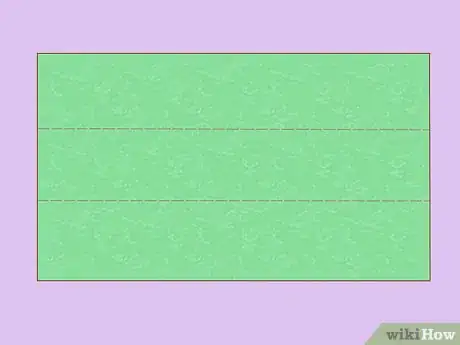
2Cut out a 7 by 3 in (17.8 by 7.6 cm) piece of fabric. This is what you will use to make the bow, so you don’t need to worry about measuring your cat’s neck yet. Use a ruler and a sharp pair of scissors to cut out the swath of fabric.[16]
- To help guide your cuts, you could use a marker to draw the measurements on the backside of the fabric.
-
3Hold the fabric lengthwise, and fold the top and bottom inward. Fold the top down 1 in (2.5 cm), and fold the bottom half up 1 in (2.5 cm). If you need to, use a dot of hot glue to secure the edges so they don’t come undone.[17]
- Try your best to keep the edges straight as you make the folds. This will create a neater and more shapely bow.
-
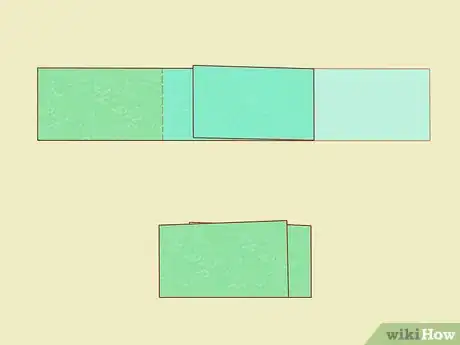
4Fold the sides in to create a 3 in (7.6 cm) long rectangle. Take the edges of the fabric and fold them inwards. Each side will go in 2 in (5.1 cm) to create the 3 in (7.6 cm) long rectangle.[18]
- To create a longer bow, fold each side in just 1 in (2.5 cm).
-
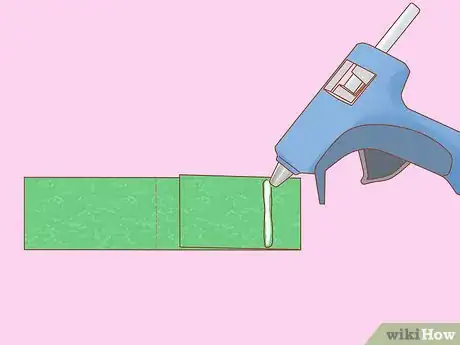
5Glue the sides of the fabric down with a hot glue gun. Use your hot glue gun to secure each side of the fabric down. Apply the glue on the corners of each fold so that no sharp corners stick out and scratch your cat.[19]
- Be careful to not get the hot glue on your hands, and always follow the machine’s instructions when loading the gun.
-
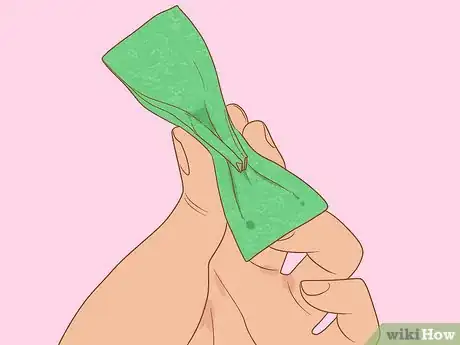
6Form the bow by pinching the middle of the fabric. Hold the 3 in (7.6 cm) long piece of fabric in your hands. Pinch the middle down to create a bow. Use the hot glue gun to secure the pinched material on the backside of the bow (the side with the seams).[20]
- You could also cut a small piece of fabric to tie around the middle of the bow. Glue it in place and cut away any excess fabric.
-
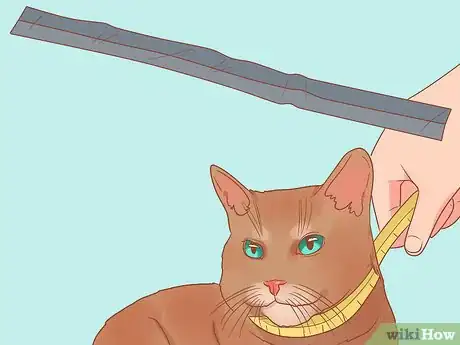
7Measure out a piece of unstretched elastic to fit around your cat’s neck. To do this, loosely wrap a piece of elastic around your cat’s neck, and position it so that you can fit 2 fingers underneath the band. Cut off the elastic at that point.[21]
- You could also cover the elastic in a matching or complementary fabric.
- Making sure you can fit 2 fingers under the band comfortably is essential in guaranteeing that the collar won’t be too tight for your cat.
-
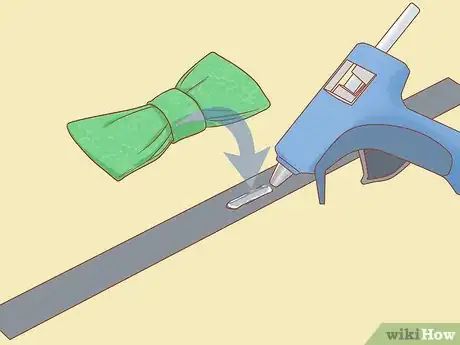
8Glue the bow to the middle of the piece of elastic. Lay out the piece of elastic on a table, and use your hot glue gun to secure the bow to the middle of the elastic. Make sure to glue the backside of the bow rather than the front. Let the glue dry before you move on, which should only take about 2 minutes.[22]
- You could always create several small bows and line the elastic with them, too, for a cute alternative.
-
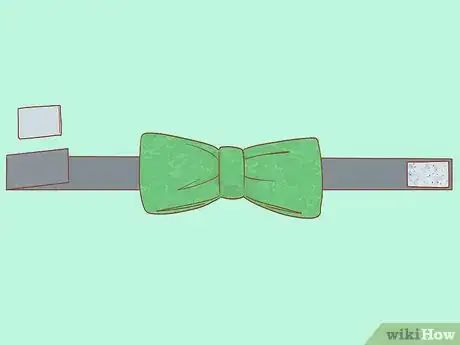
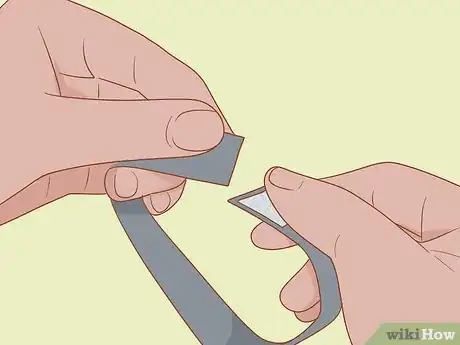
9Secure velcro to either end of the elastic to form the “clasp.” Use velcro that has a sticky back. Attach one side of the velcro to one end of the collar, and attach the other side of the velcro to the other end of the collar. When you go to fasten the collar together, it should form one continuous loop.[23]
- If your velcro doesn’t have a sticky back, you could also sew it in place.
-
10Fasten the collar around your feline friend, and enjoy! Once the velcro is in place and the glue on the bow has dried, you can try out this collar on your cat. Snap a few photos to share with your family and friends![24]
Making a Button-Up Shirt Collar
-
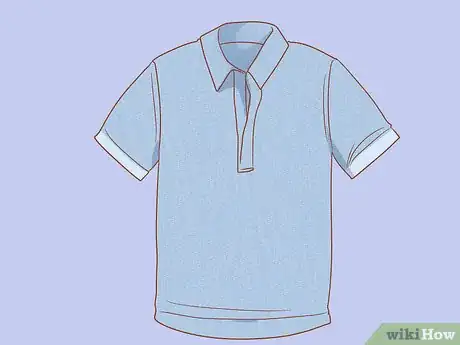
1Find a child’s button-up shirt at the thrift store or get one from a friend. If you don’t have any at home, you can buy a child-sized button-up shirt from the thrift store for just a few dollars. Search for fun patterns and buttons for a unique cat collar.[25]
- These collars are really easy to make, so you could even prepare multiple collars at once to use at different special occasions.
-
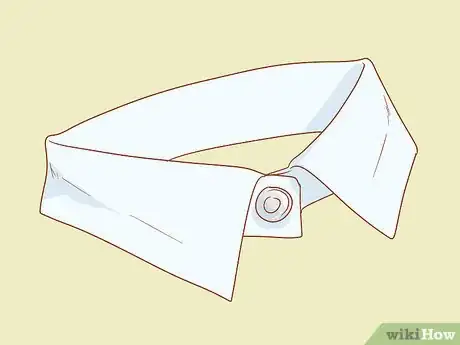
2Cut away the collar and top button from the rest of the shirt. Use a pair of sharp scissors to trim away the collar from the shirt. Avoid cutting into the collar, and make your cuts as straight as possible.[26]
- You can discard the rest of the shirt, or save the scraps of fabric for another project.
-
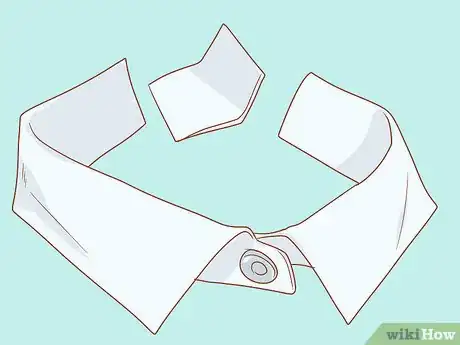
3Check the length of the collar on your cat and trim it to size. Fasten the collar around your cat’s neck and make sure it is loose enough that you can fit 2 fingers underneath it. If you can fit more than 2 fingers under it, cut away 1 to 2 in (2.5 to 5.1 cm) of fabric to make it the right size.[27]
- If you do need to make the collar smaller, cut fabric from the middle of it (so directly across from the buttons when the collar is fastened).
-
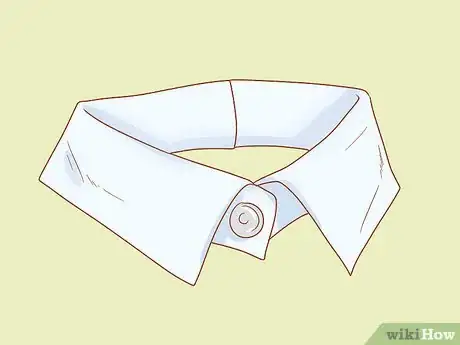
4Stitch together the bottom and cut edges of the collar. Depending on the kind of shirt you used, there may be a gap around the edge of the collar. If so, stitch it shut using a sewing needle and thread. And if you had to cut the collar to make it smaller, sew the opening shut so the collar is once again one continuous piece of fabric.[28]
- You can also use a sewing machine, but because the collar is so small, it might be quicker to just do it by hand.
-
5Slide the collar over your cat’s head and center the button under its chin. You can either slide the collar overtop of the cat’s head, or unbutton the collar and then fasten it around its neck. Position the button under your cat’s chin, and enjoy![29]
Things You’ll Need
Sewing an Adjustable Clasped Collar
- Scissors
- Ruler
- Straight pins
- Fabric sealant
- Flexible tape measure
- Strap
- Ribbon
- Parachute buckle
- D-ring
- Strap adjuster
- Thread
Creating a Bow-Tie Collar
- Fabric
- Ruler
- Scissors
- Marker (optional)
- Hot glue gun
- Elastic
- Velcro with adhesive backing
Making a Button-Up Shirt Collar
- Child’s button-up shirt
- Scissors
- Sewing needle
- Thread
References
- ↑ https://youtu.be/SzsAROCO1EI?t=125
- ↑ https://youtu.be/SzsAROCO1EI?t=146
- ↑ https://youtu.be/SzsAROCO1EI?t=146
- ↑ https://youtu.be/SzsAROCO1EI?t=239
- ↑ https://youtu.be/SzsAROCO1EI?t=276
- ↑ https://youtu.be/SzsAROCO1EI?t=345
- ↑ https://youtu.be/SzsAROCO1EI?t=356
- ↑ https://youtu.be/SzsAROCO1EI?t=361
- ↑ https://youtu.be/SzsAROCO1EI?t=405
- ↑ https://youtu.be/SzsAROCO1EI?t=425
- ↑ https://youtu.be/SzsAROCO1EI?t=457
- ↑ https://youtu.be/SzsAROCO1EI?t=470
- ↑ https://youtu.be/SzsAROCO1EI?t=513
- ↑ https://youtu.be/SzsAROCO1EI?t=520
- ↑ https://youtu.be/vrP_H3JzpDQ?t=37
- ↑ https://youtu.be/vrP_H3JzpDQ?t=51
- ↑ https://youtu.be/vrP_H3JzpDQ?t=58
- ↑ https://youtu.be/vrP_H3JzpDQ?t=66
- ↑ https://youtu.be/vrP_H3JzpDQ?t=77
- ↑ https://youtu.be/vrP_H3JzpDQ?t=88
- ↑ https://www.practicallyfunctional.com/diy-christmas-cat-collars-caturday-8/
- ↑ https://youtu.be/vrP_H3JzpDQ?t=114
- ↑ https://youtu.be/vrP_H3JzpDQ?t=121
- ↑ https://youtu.be/vrP_H3JzpDQ?t=136
- ↑ https://youtu.be/y3DbwuIx9vE?t=13
- ↑ https://youtu.be/y3DbwuIx9vE?t=22
- ↑ https://youtu.be/y3DbwuIx9vE?t=32
- ↑ https://youtu.be/y3DbwuIx9vE?t=40
- ↑ https://youtu.be/y3DbwuIx9vE?t=75
- ↑ https://youtu.be/vrP_H3JzpDQ?t=28
- ↑ https://www.practicallyfunctional.com/diy-christmas-cat-collars-caturday-8/
About This Article
To make a bow-tie cat collar, start by cutting out a 7 by 3-inch piece of fabric. Then, holding the fabric lengthwise, fold the top and bottom edges toward the center and hot glue them down. Next, fold the left and right sides in toward the center and glue them down as well so you're left with a long rectangle. Once you've done that, pinch the center of the fabric and glue it in place to form the bow. Finally, glue the bow to a piece of elastic that will fit around your cat's neck. To learn how to make an adjustable clasp cat collar, read on!
