X
This article was co-authored by Lois Wade. Lois Wade has 45 years of experience in crafts including sewing, crochet, needlepoint, cross-stitch, drawing, and paper crafts. She has been contributing to craft articles on wikiHow since 2007.
This article has been viewed 29,310 times.
Is your backpack one of "those plain ones"? Did your folks insist on getting something "practical" instead of the cool one you were hoping for? Here is a fun way to spice up your backpack inexpensively.
Steps
-
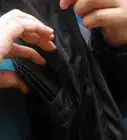
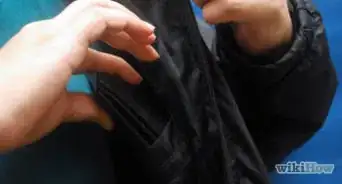
1Choose the part of the backpack you wish to embellish.[1]
-
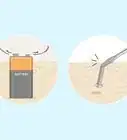
2Sketch your idea. You may do this on paper, or you may do this directly on the fabric with tailor's chalk or similar marker that will wash out. (Test this in an inconspicuous area BEFORE you draw the entire thing...)[2]Advertisement
-
3Obtain Embroidery supplies. Several needles, and a skein of each color of thread you will need for your design.[3]
-
4Use an embroidery hoop to hold the fabric taut if the fabric of the backpack will accommodate it. Some backpack materials are too thick to be held taut by an embroidery hoop. In that case, you'll just have to be careful how hard you pull on each stitch.
-
5Use a color fast embroidery thread to avoid washing problems later.
-
6Determine what thickness of floss or yarn will best suit your project. Some stitches such as French Knots work best with the full 6 strands of thread normally found in Embroidery floss. Finer details will require using fewer strands at a time to accomplish the effect desired. A common number of strands is two, but you should use your own best judgment.[4]
-
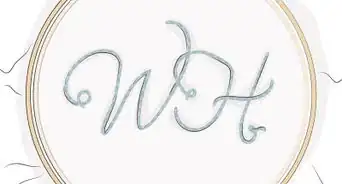
7Begin stitching with either the darkest color thread OR the innermost section of the design. Both methods have their advantages. Dark thread first prevents getting your lighter colors dingy with repeated rubbing and holding of the piece during stitching. Working out from the center has the advantage of being adjusted as you go. (starting at the outside will restrict any changes you can make later.)
-
8Hold the fabric taut while stitching. Even the gentlest of tugs on the embroidery floss can pucker the fabric and make the backpack pucker and look weird when you're finished.
-
9Tie off each thread carefully to prevent unraveling.[5]
-
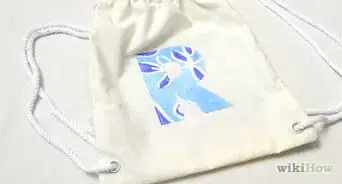
10Steam or iron the finished area of embroidery to help smooth the area and prevent (or fix) any slight puckering.


Advertisement
Things You'll Need
- A Backpack
- Embroidery Floss
- Embroidery Needles (Any needle could work, but embroidery needles have somewhat larger eyes and a thin shaft for easier sliding.)


References
About This Article

Lois Wade
wikiHow Crafts Expert
This article was co-authored by Lois Wade. Lois Wade has 45 years of experience in crafts including sewing, crochet, needlepoint, cross-stitch, drawing, and paper crafts. She has been contributing to craft articles on wikiHow since 2007. This article has been viewed 29,310 times.
Co-authors: 14
Updated: May 6, 2021
Views: 29,310
Categories: Bag and Purse Projects
Advertisement