X
wikiHow is a “wiki,” similar to Wikipedia, which means that many of our articles are co-written by multiple authors. To create this article, volunteer authors worked to edit and improve it over time.
This article has been viewed 100,320 times.
Learn more...
GIMP is an awesome graphics editor. It is so popular it can even rival the great Adobe Photoshop. However, there is one aspect can cause a little frustration, and that it: GIMP does not have a built-in “arrow drawer”. This small problem can be solved by following the given steps.
Steps
-
1Click on registry.gimp.org/node/20269 and download the arrow.scm file. The file size is only 11.24 KB, so the download should be completed within seconds.
-
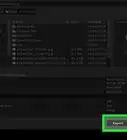
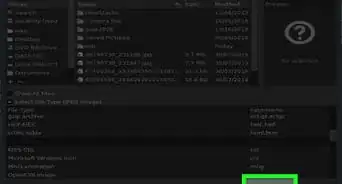
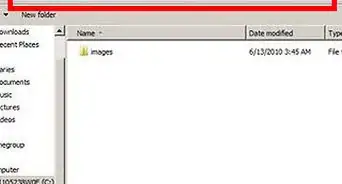
2Navigate to your GIMP script folder. In Ubuntu, the folder path is located in /home/username/.gimp-2.6/scripts. If you are using another Linux distribution and cannot file the folder, search GIMP in your file browser.Advertisement
-
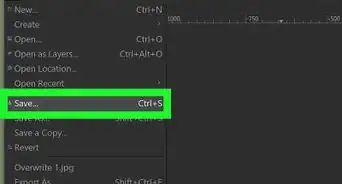
3Drag-and-drop the arrow.scm file into your scripts folder. You may be required to enter your root user name and password.
-
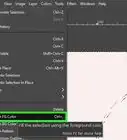
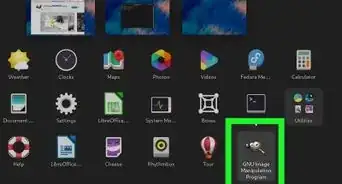
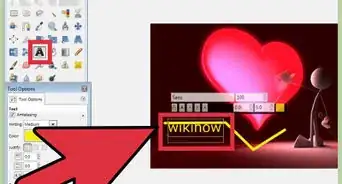
4Launch GIMP. Under the tools menu, at the very bottom, you should see the new entry Arrow.... However, it will not be available for use until you create a path of the picture you wish to draw an arrow.
-
5In the left tool bar, locate the Path icon. The icon looks sort of like a rope connected to a quill pen.
-
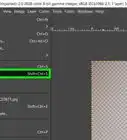
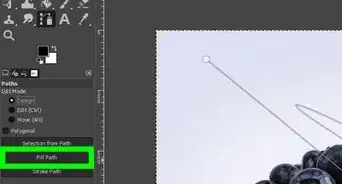
6Click once to set a point for the head of the arrow; then click a second time to set a point for the end of the arrow. You should see a segment with two little circles at the ends.
-
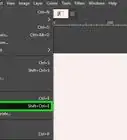
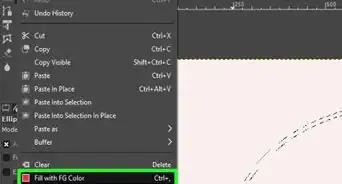
7Go the Tools menu and click the Arrow... entry. Then click OK.
-
8Congratulations! You can now experiment with your arrow, such as changing the color, shape, size, and even position!
Advertisement

About This Article
Advertisement