This article was co-authored by wikiHow Staff. Our trained team of editors and researchers validate articles for accuracy and comprehensiveness. wikiHow's Content Management Team carefully monitors the work from our editorial staff to ensure that each article is backed by trusted research and meets our high quality standards.
There are 8 references cited in this article, which can be found at the bottom of the page.
This article has been viewed 169,197 times.
Learn more...
Sailor Moon is one of the most popular Anime characters. One of her most notable features is her unique hairstyle: a pair of buns and long pigtails. Gravity-defying Anime hair doesn't always translate well into real life, but luckily for you, it's totally possible to do Sailor Moon's hair at home. You can still do this even with short hair, as long as you can pull it up into a set of high pigtails!
Steps
Creating the Buns
-
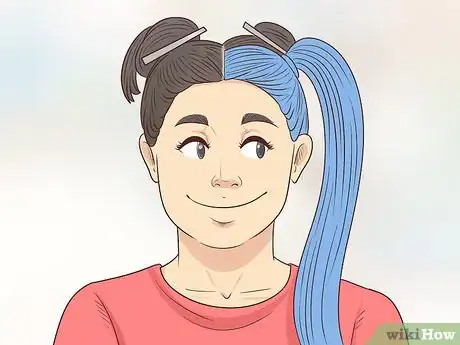
1Part your hair down the middle, then clip the right side out of the way. Use the handle of a rat-tail comb to part your hair down the center first, from forehead to nape. Twist and clip the hair on the right side of your head into a bun or ponytail so that it doesn't get in the way.[1]
- Your hair must be long enough to pull into a high ponytail on each side of your head.
- Sailor Moon has straight hair, but having curly hair for this part will help give you more volume. You can straighten your hair in the next part, if you wish.
-
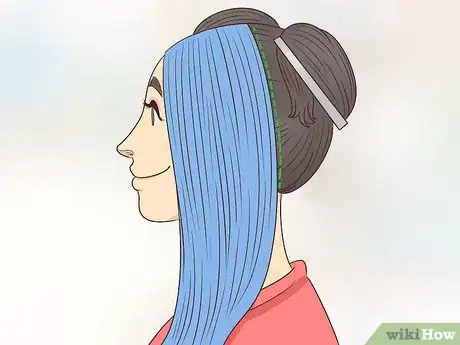
2Create a vertical part on the left side of your head, just behind your ear. Run the handle of the rat-tail comb down the left side of your head. Start at the center part and finish at your hairline, just behind your ear. Drape the hair that's in front of your ear across your shoulder, and clip the hair that's behind your ear out of the way.[2]
- Don't worry about how the clipped-off portion of your hair looks for now. This is just to keep it separate from the hair that’s in front.
Advertisement -
3Pull the hair that's in front of your ear into a high ponytail. Make the ponytail at the very top of your head, right where it starts to curve down to the side. It should be aligned with the vertical part that's just behind your ear.[3]
- For extra volume, consider teasing the ponytail with a brush or comb.
- If you have bangs, leave them out of the ponytail. You can curl them at the end to give yourself a more authentic look.
-
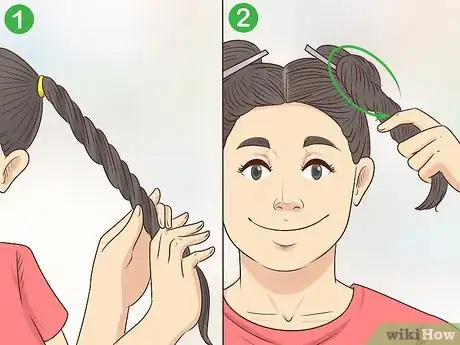
4Twist the ponytail into a bun. Use your fingers to twist the ponytail into a rope. Next, wrap the rope around the base of the ponytail to create a bun. Tuck the end of the ponytail under the bun, then secure the bun to your hair with bobby pins.[4]
- Plan on using about 3 to 4 bobby pins. If you have thick, curly hair, you may need to use more.
- If you have short hair, try a sock bun or ballerina bun instead. This won't be as accurate as doing an actual bun, but it's better than having no bun at all!
-
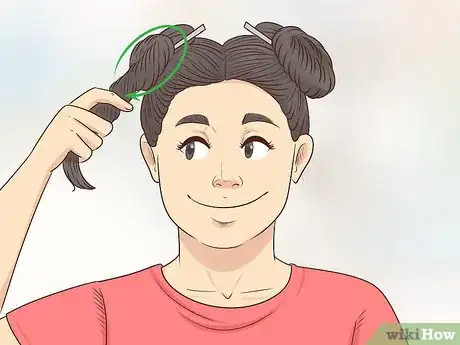
5Repeat the process for the right side of your head. Unclip the hair on the right side of your head. Part it vertically just behind your ear. Clip the hair that's behind your ear out of the way, then pull the hair that's in front of your ear into a high ponytail. Twist the ponytail into a bun and bobby pin it into place.[5]
- If you teased the left ponytail, you should tease this one too.
- If you did a sock bun on the left side of your head, you should do one on the right side too.
-
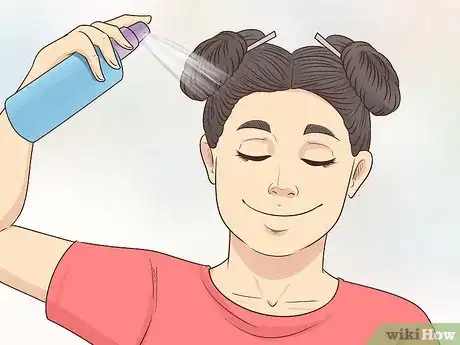
6Set the buns with hairspray. Be careful not to get the rest of your hair; you just need to do your buns for now. Alternatively, you can wait until the very end to apply the hairspray, after you've added the ponytails.
Adding the Ponytails
-
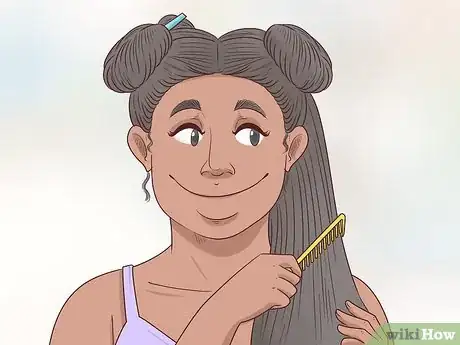
1Undo the back-left section and comb it out. If you have curly hair, consider straightening the section out. This will give you a more authentic look. If you have natural hair, however, consider leaving it as-is, or use braiding hair to create some micro braids, goddess braids, etc.
- If you have short hair and plan on adding extensions, you must straighten your hair, otherwise the texture won't match.[6]
-
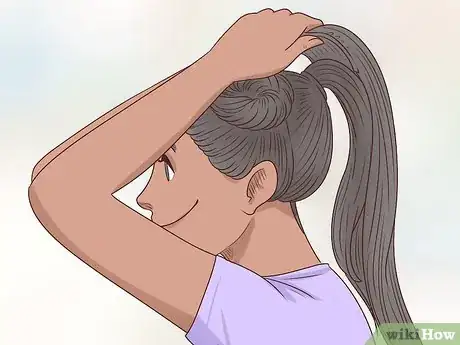
2Pull the section into a high ponytail just behind the left bun. Make the ponytail at the same height as the bun, right next to the vertical part that's behind your ear. The ponytail and the bun should be almost touching—as though they are a single piece.[7]
- Use a hair tie that matches your hair color as closely as possible. You'll eventually be adding a Sailor Moon clip, but there's still a chance that it might show through.
- For more volume, split the ponytail into 2 sections and gently tug them apart. This will shift the hair tie closer to your scalp as well as cause the ponytail to fan out.
-
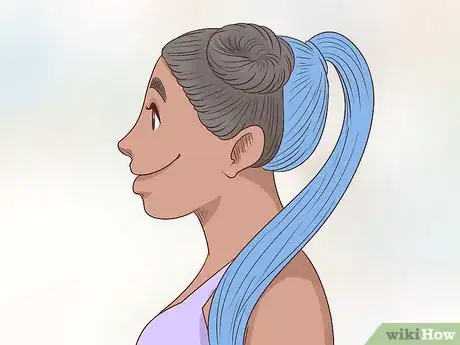
3Clip in an extension around the ponytail if you want an authentic look. Take a 2- to 3-comb hair extension that matches your hair color and pop open the combs. Insert the first comb into the base of your ponytail, right below the hair tie, and snap it shut. Wrap the extension around the ponytail, then slide and snap the second comb into place. Straighten the extension to match the texture of your hair.[8]
- For a thicker look, use a 4-clip extension. You can also layer another set of 2- or 3-clip extensions instead.
- The extensions don't have to be as long as Sailor Moon's hair. You can also totally keep your short hair for a Chibi Moon look.
- If you have natural hair, consider using braiding hair and creating mini braids instead.
-
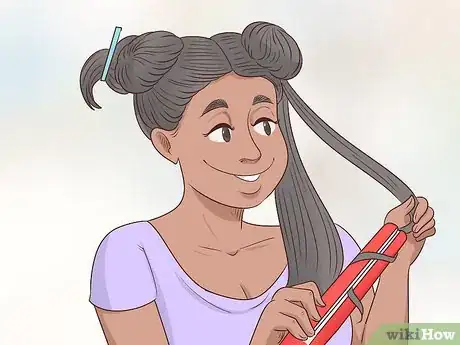
4Curl the end of the ponytail with a curling iron, if desired. Depending on the thickness of your hair, you may have to curl the ends in multiple sections. Once you have finished curling them, however, gather them together to that they make one, big curl.[9]
- Don't curl all of the ponytail all the way up to the ponytail. You just need a single coil.
- If you put your natural hair into braids, you can still curl them by wrapping them around curling rods, then dipping them into boiling water for a couple of seconds.
-
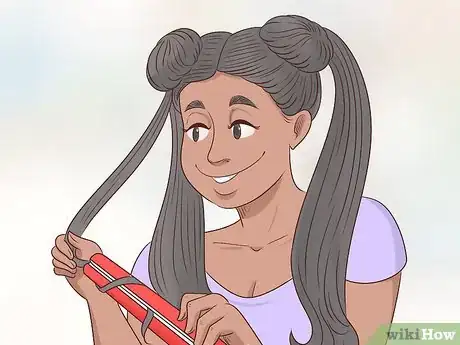
5Repeat the process for the right side of your head. Undo the bun and straighten it, if desired. Pull it into a high ponytail, then add a clip-in extension if you want your hair to be longer. For a more authentic look, add a single, large curl to the bottom of the ponytail.
-
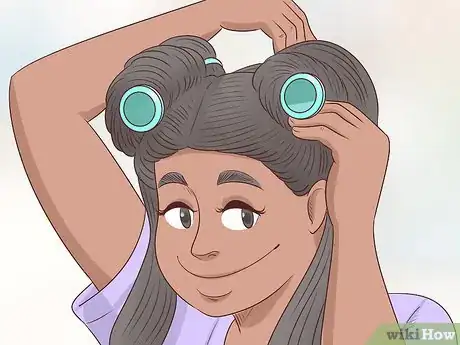
6Add a Sailor Moon clip to each bun, if desired. This is completely optional, but it is a nice touch. Depending on the style of the clip, you may be able to wrap it around the ponytail as well.[10]
- These are sometimes referred to as "odango shields".
- You can buy Sailor Moon hair clips from online stores that specialize in Anime cosplay and accessories. You can also commission someone to make one for you, or you can make it yourself.
Styling the Bangs (Optional)
-
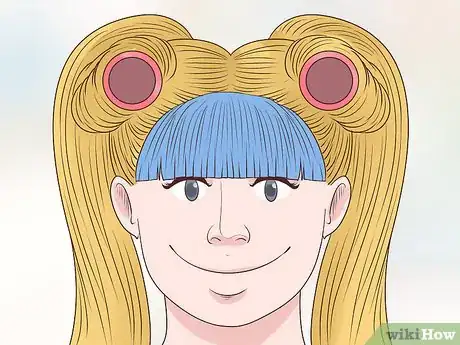
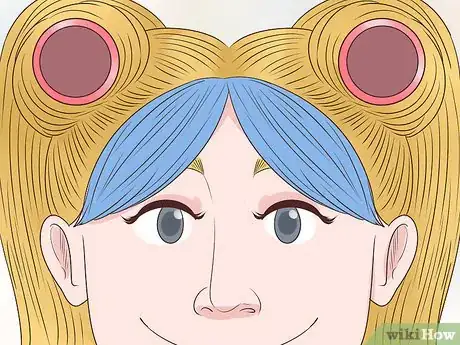
1Start with blunt-cut bangs that reach your eyes. Styling the bangs is completely optional, and only necessary if you want an authentic Sailor Moon look. The bangs should be long enough to reach your eyebrows, but it'll be even better if they reach your eyes.[11]
- Your bangs must be cut straight across in order to get the right look. You may still be able to achieve a similar look with feathered bangs, but it won't be as accurate.
- If you don't have bangs, but still want an accurate style, add a bang hair piece that matches your hair color. Make sure that it's the right length and cut!
-
2Part your bangs down the middle. Depending on how your hair acts, you may have to set the part with hairspray. If your hair naturally parts that way, however, you don't need to set it.
- You'll be working 1 bang at a time. Consider clipping the right side out of the way.
-
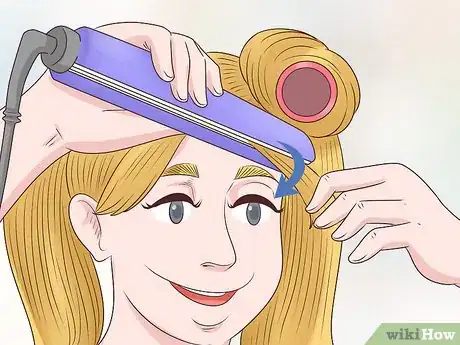
3Curl the left side of your bangs with a flat iron. Take the entire left side of your bangs, and clamp it between the prongs of a 1 in (2.5 cm) hair straighter. Slide the flat iron down towards the ends and begin to curl it towards your forehead.
- Pull the flat iron away from your forehead as you curl your bang so that you don't burn yourself.
-
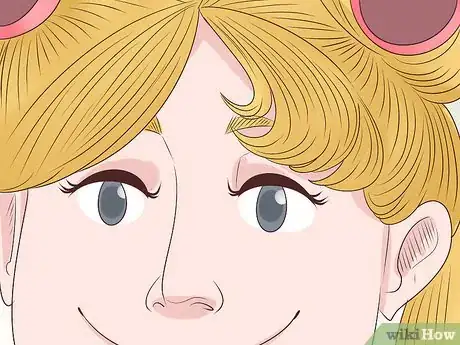
4Pull the flat iron out, then point the curl towards your forehead. Release the flat iron and carefully pull it out. Use your fingers to adjust the ends of the curl so they curl inward and slightly towards the right (the middle of your forehead).[12]
- The ends of your bangs may part a little, which is fine.
-
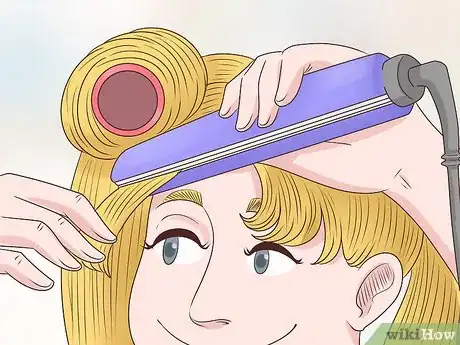
5Curl the right bang and make it point to the left. Unclip the right bang and clamp it between your flat iron. Curl the bang inward, towards your forehead, then pull the flat iron out. Adjust the curl so that it points a little towards the left.[13]
- The inner edges of your bangs should curl towards the middle of your forehead and look a little like an upside down heart.
-
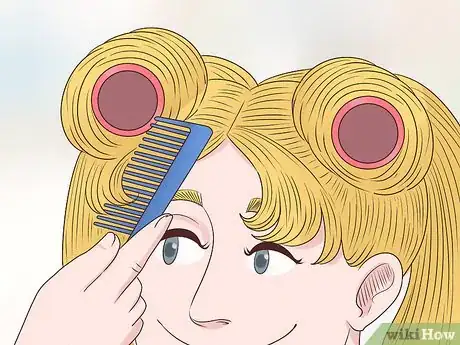
6Comb the bangs out. Run your fingers through the bangs first, then follow up with a comb. This will help give your a little more volume and softness. Don't get too carried away, however, especially if your bangs don't hold curls very well; if you comb them out too much, you may lose the curl.[14]
-
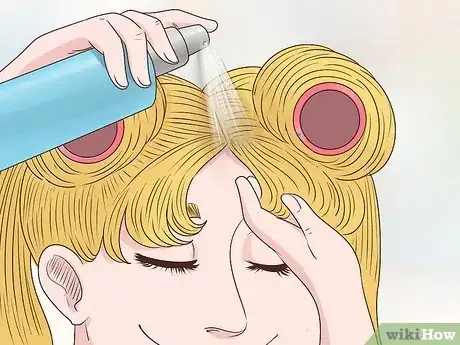
7Touch the bangs up, if needed, then set them with hairspray. Use your fingers to curl the bangs back inward and towards the middle again. Once you are happy with the look, lightly mist them with hairspray. You may have to do this a few times until you get the exact look you want.[15]
- For stubborn pieces, you may have to use your flat iron again.
- Give the bangs more volume by lifting them up and spraying the underside at the roots.
Community Q&A
-
QuestionI like this style, but kids at school make fun of me. What should I do?
 Community AnswerIt's your decision. Would you rather wear your hair how you like and ignore those who laugh, or would you rather wear your hair like everyone else to "fit in"?
 -
QuestionWhat if my hair is too long?
 Community AnswerUsagi/Serena's hair is incredibly long, so the longer your hair is, the better! There are many tutorials on YouTube that can help you if you need a video reference.
 -
QuestionHow do you make the hair stick out at the bottom?
 Community AnswerYou could split each pigtail in half, make the bun with one half, and leave the rest down.
Things You'll Need
- 4 hair ties
- 2 Sailor Moon clips (odango shields)
- Bobby pins
- Hair brush
- Rat-tail comb
- Hairspray
- Flat iron (optional)
- Curling iron (optional)
References
- ↑ https://soranews24.com/2015/03/12/want-to-copy-sailor-moons-hairstyle-this-video-will-show-you-how/
- ↑ https://soranews24.com/2015/03/12/want-to-copy-sailor-moons-hairstyle-this-video-will-show-you-how/
- ↑ https://soranews24.com/2015/03/12/want-to-copy-sailor-moons-hairstyle-this-video-will-show-you-how/
- ↑ https://soranews24.com/2015/03/12/want-to-copy-sailor-moons-hairstyle-this-video-will-show-you-how/
- ↑ https://soranews24.com/2015/03/12/want-to-copy-sailor-moons-hairstyle-this-video-will-show-you-how/
- ↑ https://www.youtube.com/watch?v=AkCLBzNCQgY&t=1m25s
- ↑ https://soranews24.com/2015/03/12/want-to-copy-sailor-moons-hairstyle-this-video-will-show-you-how/
- ↑ https://www.youtube.com/watch?v=AkCLBzNCQgY&t=3m35s
- ↑ https://soranews24.com/2015/03/12/want-to-copy-sailor-moons-hairstyle-this-video-will-show-you-how/
- ↑ https://soranews24.com/2015/03/12/want-to-copy-sailor-moons-hairstyle-this-video-will-show-you-how/
- ↑ https://www.youtube.com/watch?v=ElTMBFtJTNs&t=20s
- ↑ https://www.youtube.com/watch?v=ElTMBFtJTNs&t=37s
- ↑ https://www.youtube.com/watch?v=ElTMBFtJTNs&t=55s
- ↑ https://www.youtube.com/watch?v=ElTMBFtJTNs&t=1m
- ↑ https://www.youtube.com/watch?v=ElTMBFtJTNs&t=1m15s

-Step-12.webp)
