X
wikiHow is a “wiki,” similar to Wikipedia, which means that many of our articles are co-written by multiple authors. To create this article, 12 people, some anonymous, worked to edit and improve it over time.
This article has been viewed 49,550 times.
Learn more...
Make a whiteboard for yourself in less than 5 minutes! You can use a blank or printed sheet, depending on what you want to do.
Steps
-
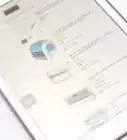
1Buy sleeve protectors from the store. Usually these come in bulk and are really cheap. Look for the shiny plastic ones, not the ones with a matte finish. Make sure it can fit a standard piece of paper (8.5"x11" or A4).
-
2Insert a blank sheet of paper.Advertisement
-
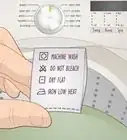
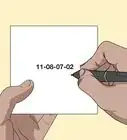
3Insert a printed sheet of paper, instead. Ruled paper, graph paper, worksheets, and practice pages all work, and you or your students can change them out for different tasks.
-
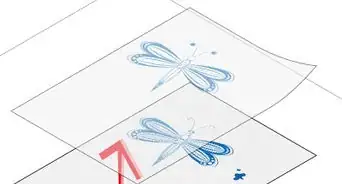
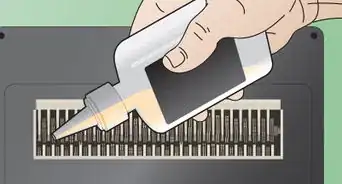
4When you are done filling the sleeve protectors, add two sheets of white cardstock to the binder, one in the back and one in the front. They'll provide a firm surface to write on and protect items alongside the sheet from getting smudged.
-
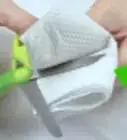
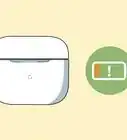
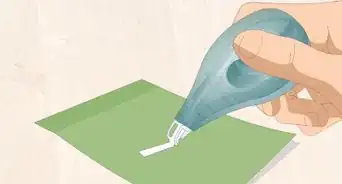
5Use a dry-erase marker to write on the sleeve and a piece of felt for an eraser.


Advertisement
Community Q&A
-
QuestionCan these be used with washable crayons?
 Community AnswerNo. They retain their marks on whiteboard even after washing.
Advertisement
Warnings
- Make sure you wipe away all the dry erase marker from your board. If not, they could stay and when you rub them off, it could smear and look ugly.⧼thumbs_response⧽
- Eventually these boards will get dirty. Just transfer all of the paper inside to a new sleeve protector.⧼thumbs_response⧽
Advertisement
Things You'll Need
- Money to buy stuff
- Sleeve protector(s)
- Dry-erase marker
- 1"x1" piece of felt
- cardstock
- Paper

-Step-22.webp)
About This Article
Advertisement