X
This article was co-authored by wikiHow staff writer, Jack Lloyd. Jack Lloyd is a Technology Writer and Editor for wikiHow. He has over two years of experience writing and editing technology-related articles. He is technology enthusiast and an English teacher.
The wikiHow Tech Team also followed the article's instructions and verified that they work.
This article has been viewed 256,113 times.
Learn more...
This wikiHow teaches you how to organize your computer's files by creating a filing system out of folders.
Steps
Part 1
Part 1 of 3:
Assessing Your Files
-
1Understand your filing system's terminology. There are three main terms with which you should be familiar before you create your filing system:
- File — An individual item, such as a picture or a document.
- Folder — A storage container used to hold files or other folders.
- Subfolder — A folder inside of a folder.
-
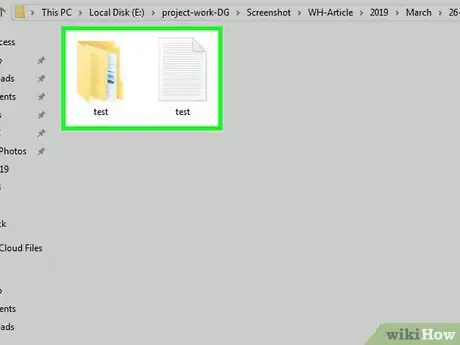
2Determine which files you have to organize. Your computer already has a built-in file manager (File Explorer on Windows, Finder on Mac) that organizes your files into various folders, so your filing system should be for things like commonly-used files, items you want to keep separate from the rest of your computer's files, and temporary project resources.
- Attempting to move all of your computer's default folder contents into your filing system may cause your computer (or specific programs) to stop working correctly.
Advertisement -
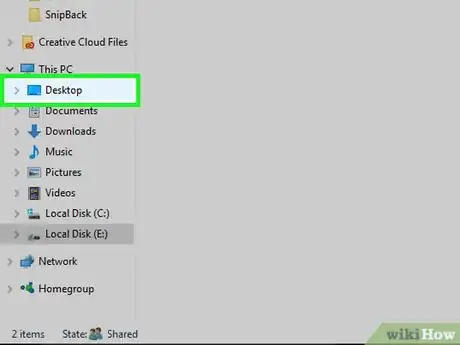
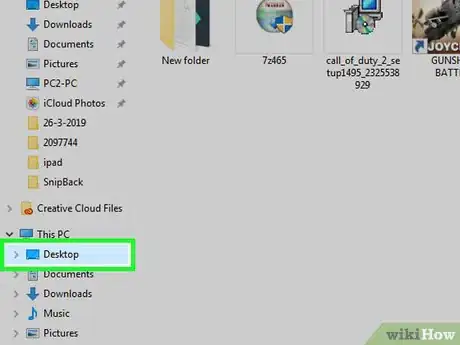
3Choose a location for your filing system. The easiest place in which to create a filing system is the Desktop, as placing your filing system there will make accessing your files easier than if you place it inside of a different folder on your computer.
- If you'd rather place your filing system inside of a pre-installed folder (e.g., the Documents folder), keep in mind that you'll have to navigate to that folder to open the filing system every time you want to use it.
-
4Don't use your filing system for programs. On Windows, many programs give you an option of where you'd like to install them. Unless you're installing a portable program (e.g., a program that can run from anywhere on your computer or a flash drive), always use the program's default installation path during setup.[1]
- Failing to use the proper installation path can result in program errors down the line.
- Mac computers don't give you an option to determine a different installation path.
Advertisement
Part 2
Part 2 of 3:
Creating Folders
-
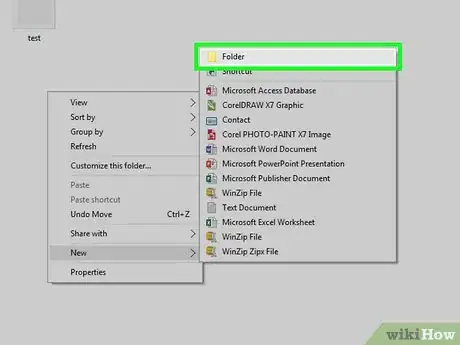
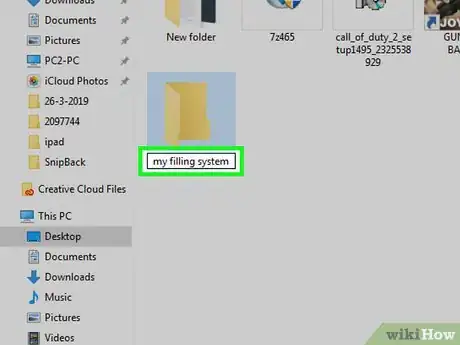
1Understand how to create folders on your computer. You can create a new, empty folder and name it whatever you like on both Windows and Mac computers:
- Windows — Right-click a blank space, select New, click Folder, type in your folder's name, and press ↵ Enter.
- Mac — Go to a location in which you want to create a folder, click File, click New Folder, type in your folder's name, and press ↵ Enter.
-
2Remember to use intuitive labels for your folders. Instead of abbreviating your folder names or using slang, make sure you type out a concise, descriptive name for each folder.
- For example, your documents folder should be labeled "Documents" or something similar, not "Docs".
- A good rule of thumb is to label your folders as though you were creating a filing system for another person to be able to navigate without help.
-
3Go to the folder in which you want to create your filing system. If you're creating your filing system on the Desktop, make sure you're there before proceeding.
- Windows users cannot create the filing system in the This PC (or My Computer) app.
-
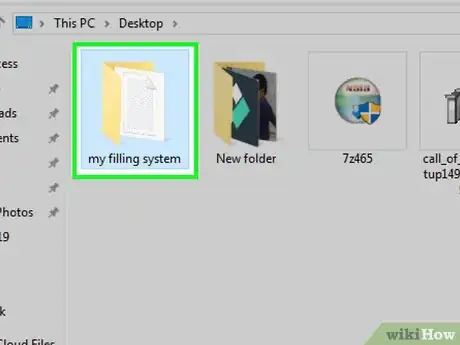
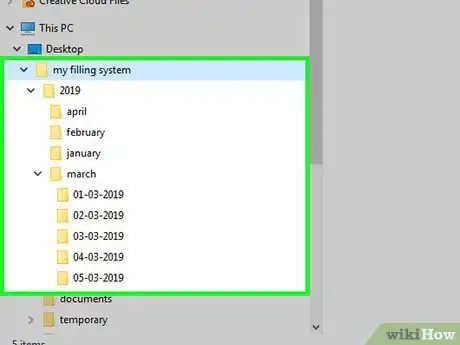
4Create a base folder. This is the folder into which your filing system's folders will go, so name it something like "Files" or "My Filing System".
-
5Open the base folder. Double-click the base folder to do so.
-
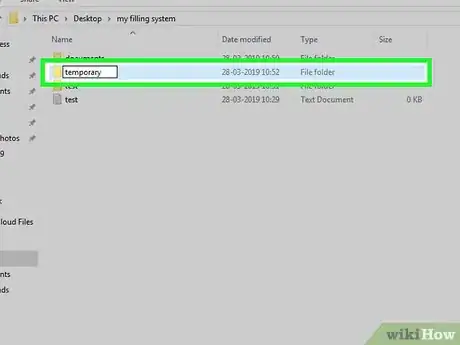
6Create a "Temporary" folder. This is the folder in which you'll store files that don't necessarily need to be saved for more than a few days (e.g., files for a project you're working on).
- The "Temporary" folder should always be directly inside of the base folder for easy access.
-
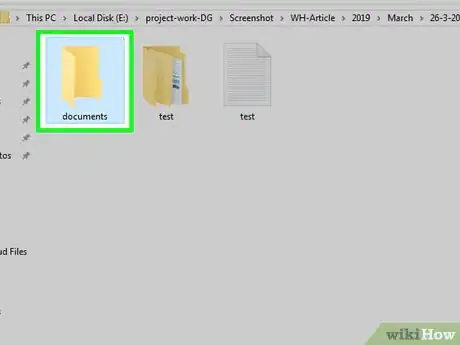
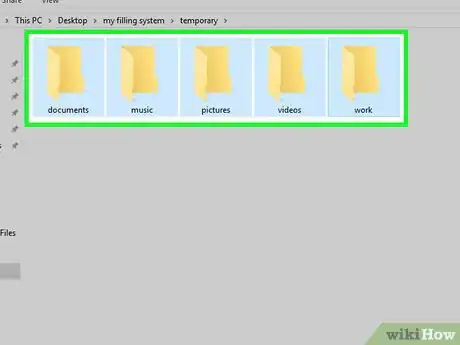
7Create a folder for each category of document you want to organize. Think of category folders as the "drawers" of the filing cabinet. This step will vary depending on your needs, but your necessary folder names may include some or all of the following:
- Documents
- Music
- Pictures
- Videos
- Work
-
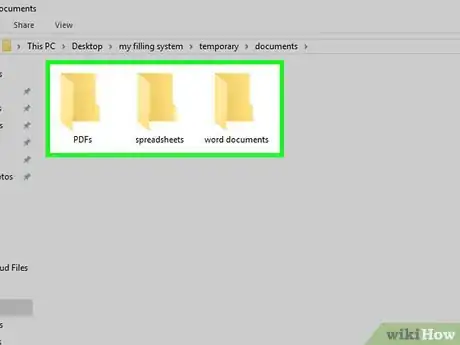
8Create subfolders for your category folders. Open a category folder, then create a folder inside of it to serve as a subcategory folder. This will further separate your files.
- For example, if your category folder is labeled "Documents", you might have three subfolders entitled "Word Documents", "PDFs", and "Spreadsheets".
- You can repeat this process with subfolders as well: open a subfolder, then create a folder inside of it.
- Think of subfolders as the filing envelopes used in a filing cabinet drawer (where the category folder is the drawer).
-
9Move files into your filing system. Now that you have the framework for your files, you'll need to start moving things like documents, pictures, music, videos, and so on into the appropriate folders in the filing system. The easiest way to do this is by clicking and dragging the files into the necessary folders.
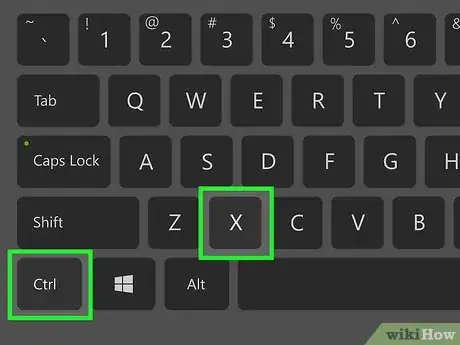
- On a Windows computer, you can select the files you want to move, press Ctrl+X to copy and delete the files, and then go to the folder location and press Ctrl+V to paste in the files.
-
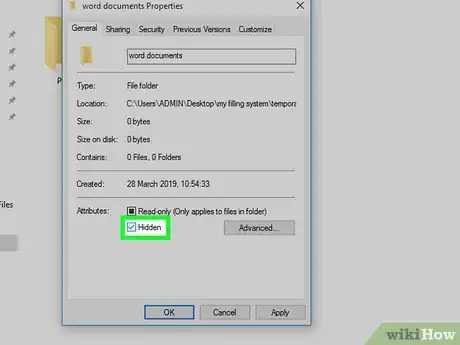
10Create hidden folders if necessary. If you have files you want to keep private, you can hide them inside of a hidden folder and then turn off hidden folder viewing on your computer. This will prevent the casual snooper from coming across your sensitive information.
- Keep in mind that some indexing programs will still show the folder if it's hidden.
Advertisement
Part 3
Part 3 of 3:
Staying Organized
-
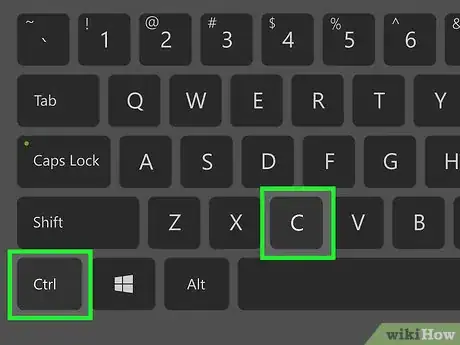
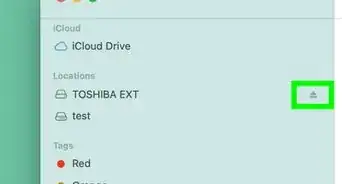
1Back up your filing system regularly. This is very important, as doing so will both ensure that your files are always retrievable and keep your computer organized. The easiest way to back up your filing system is to copy it by selecting it and pressing Ctrl+C (Windows) or ⌘ Command+C (Mac), open an external hard drive or flash drive, and paste the filing system there by pressing Ctrl+V (Windows) or ⌘ Command+V (Mac). You can then rename the filing system's folder to the date of the backup.
- You can also upload your filing system to a cloud storage service such as Google Drive, iCloud Drive, OneDrive, or DropBox.
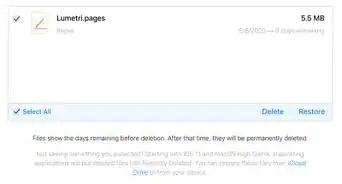
- Make sure you hold onto filing system backups for at least one year. This will ensure that, even if your computer is compromised or you delete a file you thought you didn't need, you'll be able to access the backup to restore the most recent version.
-
2Establish rules for yourself. Your filing system will only keep you so organized; if you want to take full advantage of your system's organizational capacity, you'll need to follow your own rules for using it. Some good rules to keep include the following:
- Never store loose files in a folder that also contains subfolders.
- Empty the "Temporary" folder at least once per week.
- Avoid deleting documents, receipts, or other potentially useful items even if you think their usefulness is up.
- Don't hang onto expired or useless files.
- Back up your filing system once per week.
-
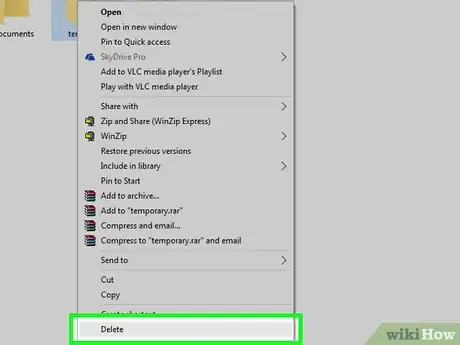
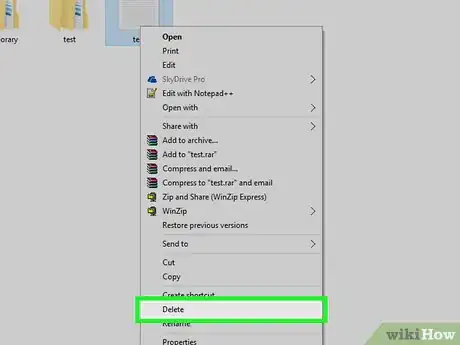
3Delete your filing system's unnecessary files. As time goes by, some of your filing system's contents will invariably become outdated, redundant, or otherwise unnecessary to keep. While you may feel like you should hold onto these files "just in case", it's better to delete them and free up clutter than it is to hold onto them.
- If you're regularly backing up your filing system to a hard drive or a cloud storage service, do this after backing up the filing system.
- Removing your filing system's unnecessary files while saving them in a backup will ensure that you still have access to them if the need arises while keeping your computer's filing system tight.
-
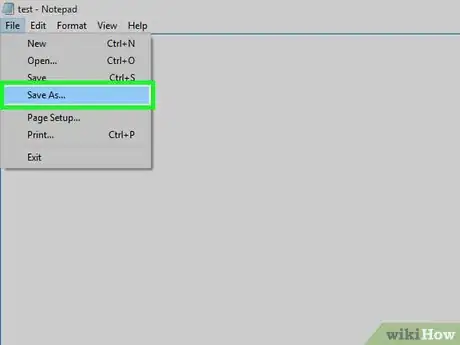
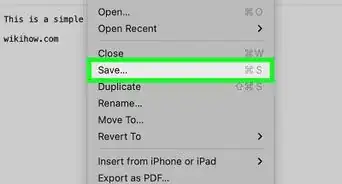
4Remember to save new files directly to your filing system. When creating documents or downloading files, you'll usually have an option to pick the location to which you save them; while most programs will use a default folder somewhere on your computer if you don't select a specific location, you can choose to save the items to your filing system by clicking Save As or Browse and then going to the filing system folder you want to use.
- You'll usually use the Save As option when saving a document from a program (e.g., a Microsoft Word document), while files downloaded from your web browser will usually require you to select a folder or click Browse....
-
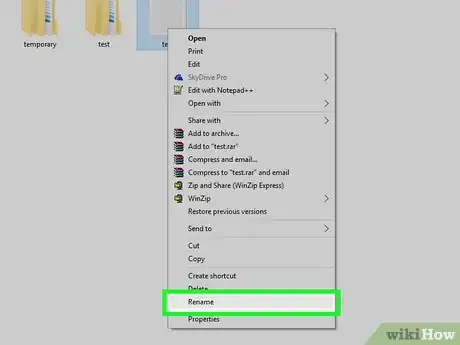
5Rename files to cut down on visual clutter. By default, most downloaded files will have proprietary names. You can rename these files to use your own wording in order to clean up your filing system's visual presentation:
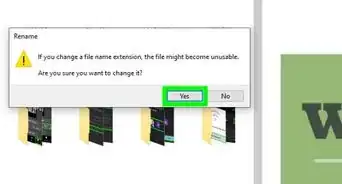
- Windows — Right-click a file, click Rename in the drop-down menu, type in whatever you want to name the file, and press ↵ Enter.
- Mac — Click once the file, press the ⏎ Return key, type in whatever you want to name the file, and press ⏎ Return.
-
6Form a habit of using and maintaining your filing system. Like anything else, using your filing system to the extent of its capabilities will require practice and consistency. If you remember to use your filing system every day, get used to finding and using your files in it, and consistently clean up your filing system when you're done with it, your computer will be well-organized in no time.
Advertisement
Community Q&A
-
QuestionWhat is difference between a subfolder and a file?
 Community AnswerA subfolder is a folder within another folder, used for organizing and storing files. A file is an item within the folder.
 -
QuestionHow do I add a new file to a folder?
 Community AnswerAfter creating the folder, you can either a) move existing files from other locations to your new folder, or b) save any new files directly to the new folder during the save process.
 -
QuestionWhat is the best way to file emails for a filing system?
 Community AnswerMany email servers use a filing system similar to that of a computer. When I want to sort my emails into folders, I consider what categories of emails I typically receive. Some that come to mind are marketing, newsletters, conversations, e-receipts, and important records. Create a folder for each of the categories you need, and move emails into the folders. Many email systems also let you "mark as read" which you may want to do as you go for emails which you don't always need to open to know what category they go into.
Advertisement
About This Article
Advertisement
