This article was co-authored by wikiHow Staff. Our trained team of editors and researchers validate articles for accuracy and comprehensiveness. wikiHow's Content Management Team carefully monitors the work from our editorial staff to ensure that each article is backed by trusted research and meets our high quality standards.
There are 10 references cited in this article, which can be found at the bottom of the page.
This article has been viewed 98,963 times.
Learn more...
Those crisp, white baseball uniform pants don’t tend to stay that way for long. After countless skids, brush-ups and slides into home base, they’re bound to get a little dirty. Trying to launder grass and mud stains out of light-colored fabrics can be an exasperating task, but it doesn’t have to be anymore. With the right tools, you can restore even the most well-worn pair of pants to their prime. All you need are a few special cleaning products and a little elbow grease to strike out stubborn stains inning after inning.
Steps
Pretreating Stains
-
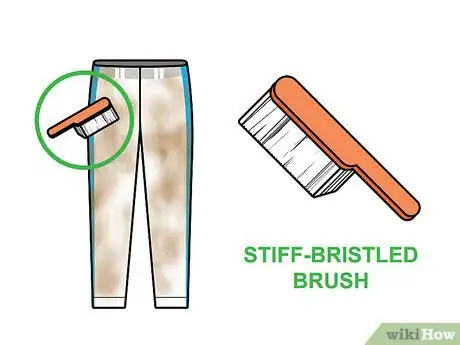
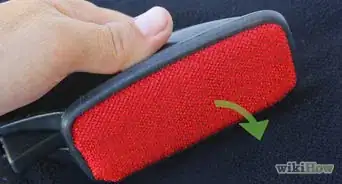
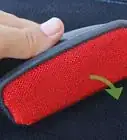
1Brush off excess dirt and debris. Using a stiff-bristled brush or dry sponge, remove as much dirt from the pants as you can while they’re still dry. Use long, sweeping strokes, being careful to avoid spreading dirt to clean areas. Shake the pants out thoroughly when you’re done.[1]
- Brush down the pants outdoors to keep from making a mess inside your home.
- It’s important to treat stains as soon as possible so that they’ll have less time to set up on the fabric.[2]
-
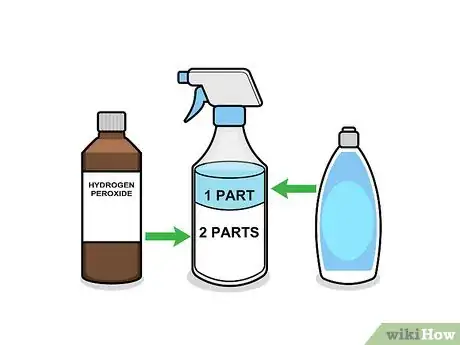
2Combine hydrogen peroxide and a mild detergent in a spray bottle. Mix together roughly two parts hydrogen peroxide and one part liquid dish soap and shake to combine. Both of these ingredients contain active stain-fighting agents and will be instrumental in lifting the worst of the stains prior to laundering.[3]
- Keep a bottle of hydrogen peroxide solution mixed up so that you’ll have a ready supply on hand to treat a dirty uniform after each game.
Advertisement -
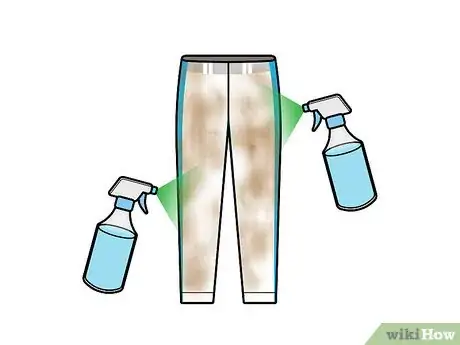
3Spray the stain-fighting solution onto the pants. Mist the pants liberally on both sides, focusing on areas where dirt and discoloration is the heaviest. Then, use your brush to work the solution further into the fibers of the garment where they can continue working on the stains.[4]
- Reapply fresh solution after chipping away at the stains with the brush.
- If the stains are very pronounced, turn the pants inside out and spray and brush the opposite side of the fabric as well.[5]
-
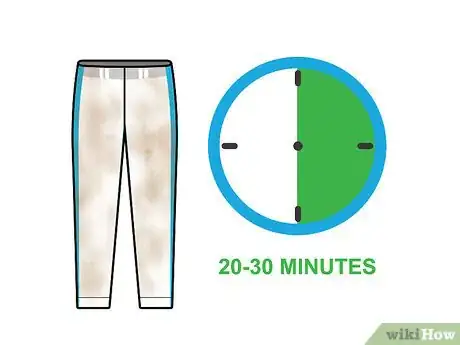
4Allow the solution sit for 20-30 minutes. Give the solution time to take effect before moving on to other deep-cleaning methods. You might be surprised how well the initial treatment can work on ground-in dirt, grass and blood stains.[6]
- Leave the pants on a flat, dry surface as they sit, like a countertop or the ironing board.
- The longer you let the stain-fighting solution work, the better the end result will be.
Soaking the Pants
-
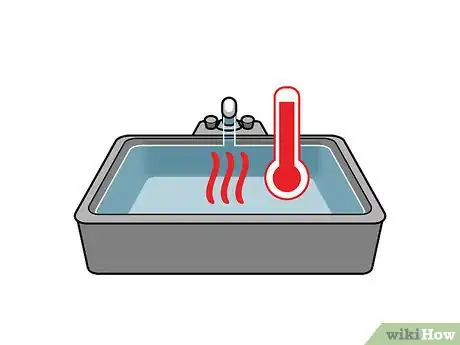
1Fill a large sink with warm water. Run enough water to completely submerge the pants. It’s important to use warm or hot water as opposed to cold, as it will be more effective for loosening the most troublesome stains.[7]
- You can also soak the pants in a bathtub if you’re short on sink space.
- If necessary, use a small, heavy object to weigh down the pants and keep them underwater.[8]
-
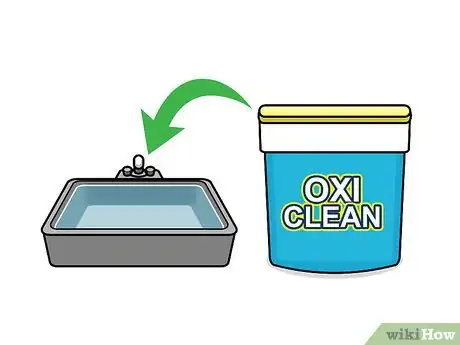
2Mix in an oxygenated bleach cleaner. Add about one cup of bleach-based cleaner like OxiClean or Clorox Oxy Magic to the sink. Whisk the water and cleaner together until they’re evenly distributed. These products are designed to cut tough messes using a mild natural bleaching action, so there’s no need to do a lot of scrubbing.[9]
- For best results, look for products that are specially formulated for use on white clothing.
- It’s a good idea to wear cleaning gloves when working with products containing bleach and other harsh chemicals.[10]
-
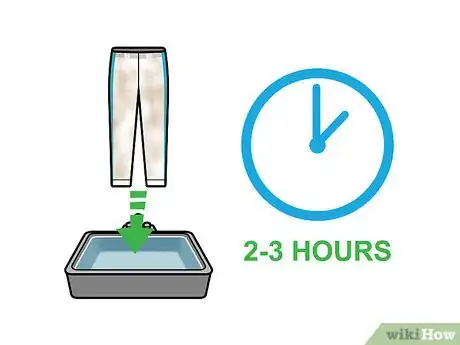
3Soak the pants for several hours. Place the pants in the sink with the warm water and bleach cleaner. Ideally, the pants should remain in the solution for a minimum of 2-3 hours. If possible, soak them overnight to ensure that the cleaner has had ample time to work.[11]
- If you’re short on time, use a slightly higher concentration of cleaner and plunge the pants gently in the water by hand.
- Soaking is an indispensable step in removing stains from white fabrics.
-
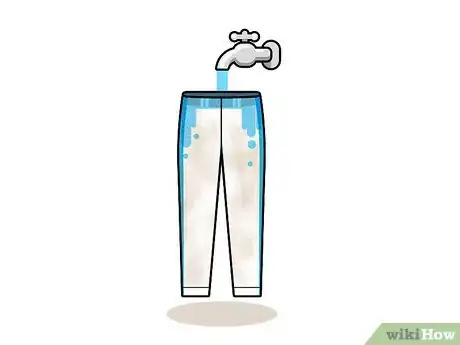
4Rinse the pants with clean water. Remove the pants from the sink and wring out the excess cleaning solution. Drain the sink and run a stream of fresh warm water over the pants. This will help flush away dislodged debris and dirty water.[12]
- Squeeze all water out of the pants again after rinsing.
- You should follow up with a regular cycle in the washing machine, even if the stains have mostly disappeared from the pants.[13]
Machine Washing the Pants
-
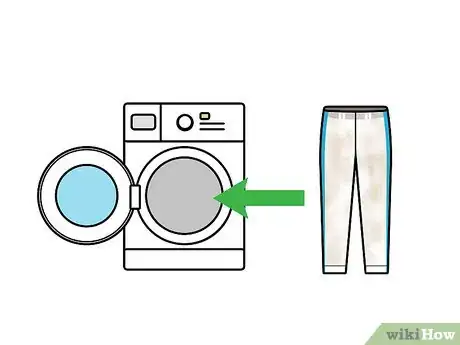
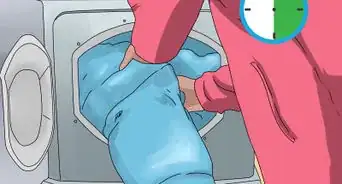
1Place the pants in the washing machine. After a good soak, it’s important to wash the pants right away before they have time to dry. Be sure to only wash your uniform pants with other white fabrics. If the rest of your uniform needs to be washed, you can throw them in together.[14]
- Once loose stains dry a second time, they can be even harder to get out.[15]
- If you wash your uniform with bright colors that have a tendency to run, you could find yourself dealing with a whole new set of difficult stains.
-
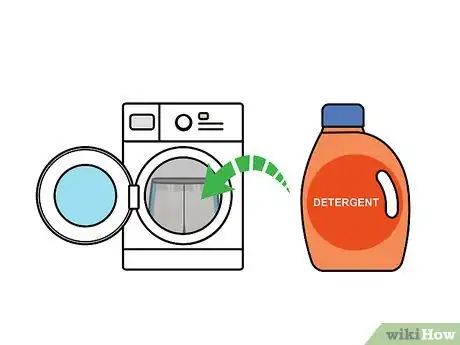
2Pour in a strong detergent. Add the laundry detergent straight to the clothes, rather than to a separate dispenser. You’ll have the most luck with stain-dissolving detergents made specifically for whites.[16]
- Use a whole capful of detergent to provide the maximum amount of cleaning muscle.
-
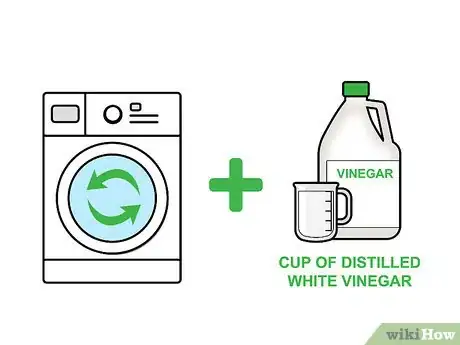
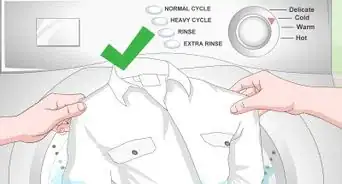
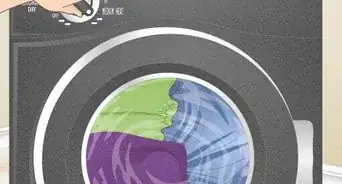
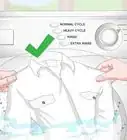
3Wash the pants. Set the washing machine to a normal wash cycle. Use warm water. Whatever stains are leftover from the first two phases of cleaning should be totally erased following a thorough machine washing.[17]
- Add a cup of distilled white vinegar during the rinse cycle. Vinegar can brighten and soften light fabrics, making it a great way to provide the finishing touches to hard-wearing garments.[18]
- Especially dingy pants may need to be laundered on a heavier soil setting.
-
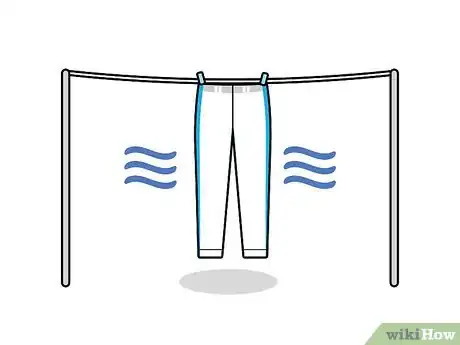
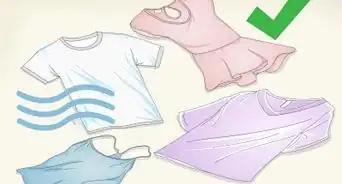
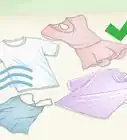
4Hang the pants up to air dry. The intense heat of the dryer may shrink cotton and blended pants. To prevent this, hang the pants vertically in a well-ventilated area overnight. Afterwards, they’ll be clean and ready to go so you can look your best at the big game![19]
- Pants made from polyester and other synthetic fabrics are typically dryer safe.
- If the pants are wrinkled after they dry, give them a few passes with an iron on a low heat setting.[20]
Warnings
- Certain types of stains, like red clay, are particularly resilient and may be impossible to completely remove. In these cases, you may be left with no other choice than to purchase a brand new uniform.⧼thumbs_response⧽
- When using bleach-based cleaning products, always work in a well-ventilated area and avoid breathing fumes or handling cleaners with bare skin.⧼thumbs_response⧽
Things You'll Need
- Hydrogen peroxide
- Mild liquid dish soap
- Oxygenated bleach cleaner (OxiClean, Clorox Oxy Magic, etc.)
- Stain-lifting laundry detergent
- Stiff-bristled brush or sponge
- Spray bottle
- Distilled white vinegar (optional)
References
- ↑ http://www.ebay.com/gds/How-to-Get-White-Baseball-Pants-Clean-/10000000205732757/g.html
- ↑ http://web.extension.illinois.edu/stain/staindetail.cfm?ID=238
- ↑ http://www.allthingsthrifty.com/2012/06/best-homemade-stain-remover-ever.html
- ↑ https://www.ripit.com/blog/how-to-clean-baseball-pants/
- ↑ http://www.ebay.com/gds/How-to-Get-White-Baseball-Pants-Clean-/10000000205732757/g.html
- ↑ http://www.ebay.com/gds/How-to-Get-White-Baseball-Pants-Clean-/10000000205732757/g.html
- ↑ https://www.clorox.com/dr-laundry/how-do-you-remove-the-red-stain-of-baseball-clay-from-white-pants/
- ↑ https://www.clorox.com/dr-laundry/how-do-you-remove-the-red-stain-of-baseball-clay-from-white-pants/
- ↑ http://www.extraordinarymommy.com/how-to-clean-baseball-pants-to-perfection/
- ↑ https://www.stevespanglerscience.com/lab/experiments/the-science-of-cleaning-products/
- ↑ http://www.ebay.com/gds/How-to-Get-White-Baseball-Pants-Clean-/10000000205732757/g.html
- ↑ https://www.clorox.com/dr-laundry/how-do-you-remove-the-red-stain-of-baseball-clay-from-white-pants/
- ↑ http://www.extraordinarymommy.com/how-to-clean-baseball-pants-to-perfection/
- ↑ http://www.cnn.com/2011/LIVING/03/31/baseball.open.uniforms/
- ↑ http://web.extension.illinois.edu/stain/staindetail.cfm?ID=238
- ↑ http://www.ebay.com/gds/How-to-Get-White-Baseball-Pants-Clean-/10000000205732757/g.html
- ↑ http://www.ebay.com/gds/How-to-Get-White-Baseball-Pants-Clean-/10000000205732757/g.html
- ↑ http://www.heinzvinegar.com/tips/laundry-room
- ↑ http://www.quickanddirtytips.com/house-home/housekeeping/how-to-clean-a-sports-uniform
- ↑ http://www.ebay.com/gds/How-to-Get-White-Baseball-Pants-Clean-/10000000205732757/g.html
About This Article
To clean baseball pants, start by brushing off excess dirt and debris with a stiff-bristled brush or dry sponge. Next, spray any soiled areas with a stain-fighting pre-treatment solution and let the solution sit for 20-30 minutes. After the solution soaks into the fabric, fill up a large sink or bucket with warm water and add 1 up of an oxygenated bleach cleaner. Then, soak the pants in the solution for at least 2-3 hours. Remove the pants from the sink, wring out the excess cleaning solution, and rinse the fabric with warm water. Finally, run the pants through a regular cycle in the washing machine and hang them up to air-dry. For more tips on treating stains, read on!
