This article was co-authored by Virginia Kelley, MA, a trusted member of wikiHow's volunteer community. Virginia Kelley is an artist and art teacher from New York with over 30 years of experience. She has both a Bachelor's and a Master's degree in Art Education from SUNY-Buffalo State and has taught art at the K-12 and college levels. For the last 20 years, she has focused her work and teaching on watercolor.
This article has been viewed 9,202 times.
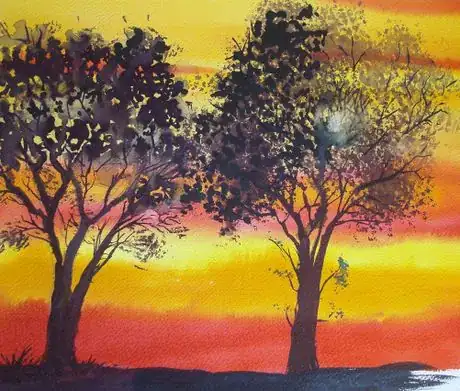
Do you admire brilliant, mingled watercolor washes? They aren't hard to do if you follow a few simple steps. In winter you can see trees standing majestically, starkly silhouetted against the sky, their intricate structures visible. If you enjoy dramatic, eye catching art work, this project, combining varied colored washes and line drawing, is one to try.
Steps
Painting the Sunset
-
1Begin by cutting a 6 x 9" piece of #140, cold press watercolor paper.
-
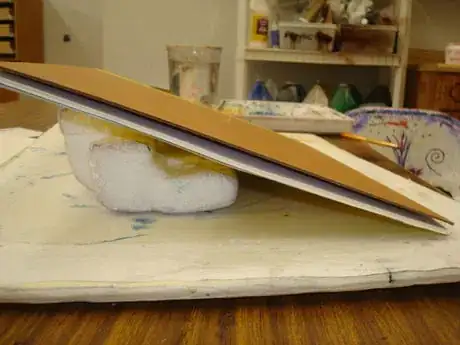
2Place the paper on a sheet of heavy cardboard or foam core board larger than the paper, but don't mount it to the board.
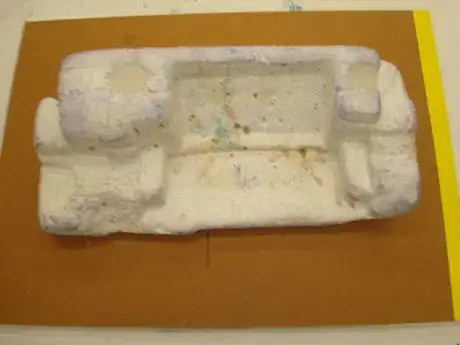
- Elevate the top of the board approximately two inches using a piece of hard foam such as rectangular blocks found in the floral department at craft stores or make one from a piece of hard packing foam. The board must be secure and stable during painting, so be sure the device for elevating goes all the way across the top of the support board.
- You will transport the wet painting on the board to the hairdryer as you work. You will also avoid a cramped, stunted stroke by gliding the paint across the paper from side to side and letting your brush go right off and onto the board.
-
3Draw in pencil, a line two inches up from the bottom to separate the sky from the earth.
-
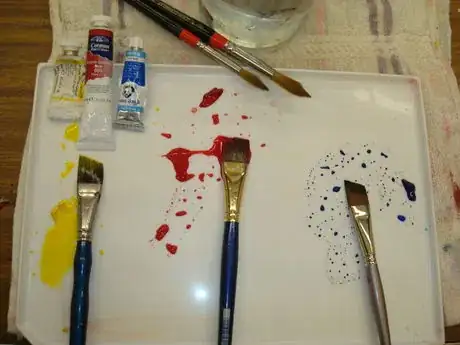
4Set up your palette by squeezing 1/2 inch amounts of tube watercolors; red, yellow and blue. Arrange the paints around the edge of a white plastic plate or white palette, leaving the center clear for mixing.
- In art, as in life, sunsets come in many combinations of colors and surprising new colors will be created from the basic three as the paints flow downward, merging and mingling.
-
5Use a large brush for each color. Plan to work fast to paint the stripes of color. Prepare your puddles of color by pulling a color into the center of the palette and adding enough water to make it the consistency of milk, mixing thoroughly.
-
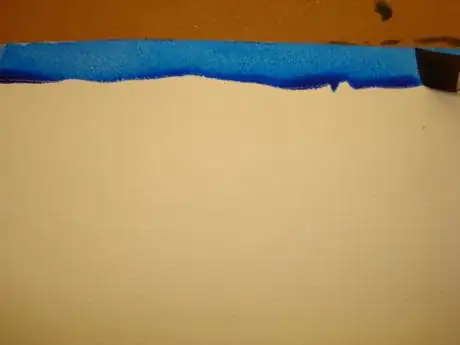
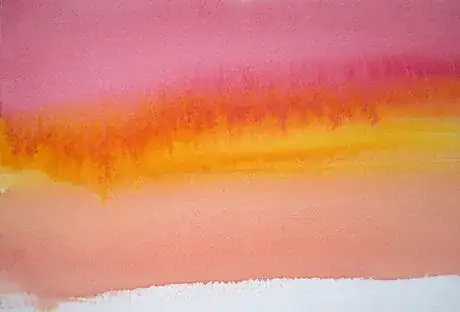
6Load your brush to almost dripping with one of the colors and working from left to right paint a single, juicy stroke from side to side. Do it in one pass, don't stop to reload your brush. You will see, as the paint flows down, a bead forming at the bottom of the stroke.
- Repeat with a second color, but this time have your brush slightly touch the bead. The color from the earlier stroke will be pulled into the next stroke.
-
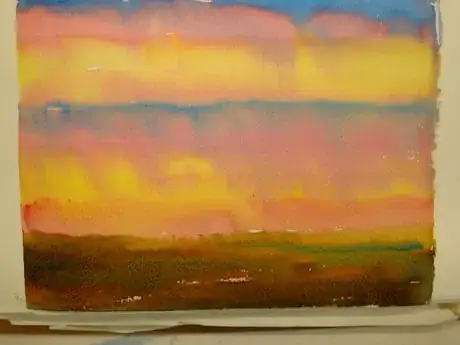
7Repeat as many times as you wish until you reach the pencil line for the earth. Don't go back over the sky. You can alter it somewhat by picking up the board and tilting it various ways to make the paint flow together.
- As soon as you are satisfied, remove the riser and let the painting dry flat. Air dry or use a hairdryer. If it curls slightly, roll the dry painting gently the opposite way.
-
8Prepare paints for the earth by squeezing out 1/4 inch amounts of browns, greys and black. Make up an entirely separate palette for these dark colors. Use a large yogurt or whipped topping lid, but keep it well away from the other colors.
-
9Paint the earth strip by mixing dark colors randomly.
Drawing the Tree
-
1Do your research. Either draw the tree from one of your own photographs or take a tree from one of the free, photo sharing websites.
-
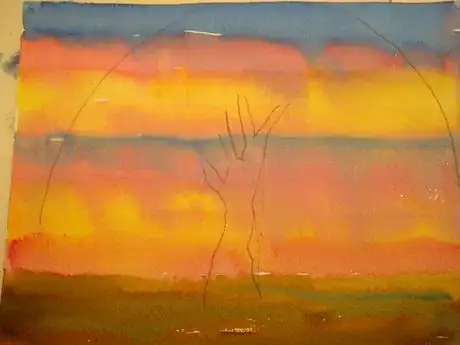
2Plan the amount of space the tree will take on the paper by sketching in pencil the position of the trunk. Lightly sketch the outer limits of the branches to form a compact shape for the branches.
-
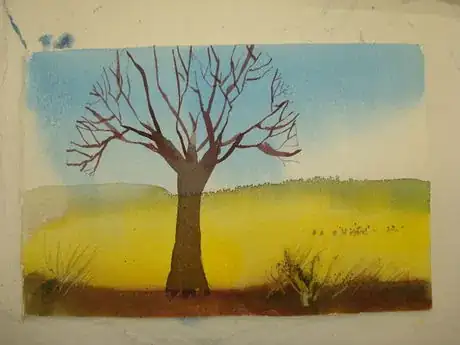
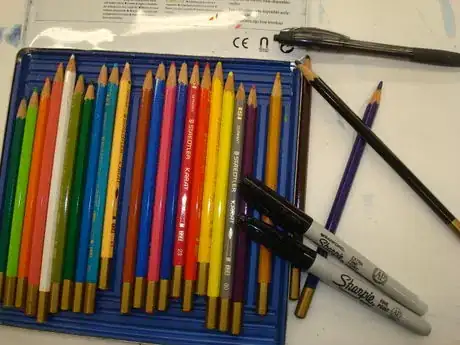
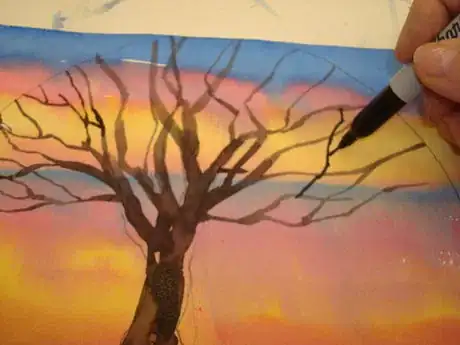
3Draw or paint the tree using dark media such as Sharpie markers, a fine brush and India Ink or opaque water color.
-
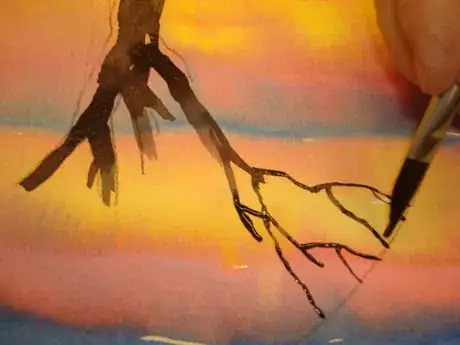
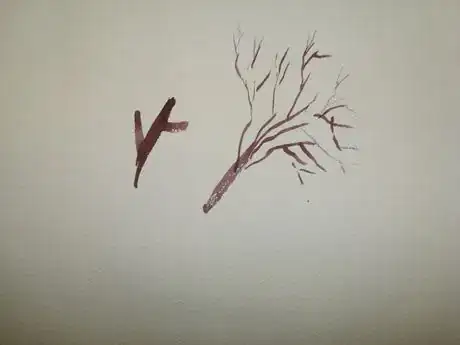
4Bear in mind that the trunk and branches tend to taper and get smaller as they grow upward. A tree trunk will split into three or more large branches and then smaller branches will split and grow off these.
- Continue to draw branches until they become so fine they are barely visible, but stop at the pencil line you drew for the outer edge. To avoid smearing the branches, dry as you go, or turn the piece upside down to draw the finer branches.
