< Sidux < Useable applications

- I'd like to make a little more attention with an application doesn't suit for two previous chapters.
- It is not a graphics viewer nor editor but you can work on photos anyway.
- The main job of the application is photos album making.
- It's Jalbum.
Installation
- 1. Download Jalbum.deb package for Debian from: http://jalbum.net/software/download/current
- a. It needs Java Virtual Machine 1.5 version at least.
- b. Anyway there is Jalbum.bin installation package as well.
- 2. Installation (in "/usr/share/jalbum" folder):
dpkg -i jalbum_version_all.deb
Extra skins
- If you want to install more albums skins download new ones from: http://jalbum.net/skins
- 1. But skins you can't install just like that, click right button of mouse on "Install skin" icon
- and choose "Save it as..." to download it.
- 2. Extract the package and move it out using any File Manager as root to Jalbum's skins folder:
/usr/share/jalbum/skins/
Album making
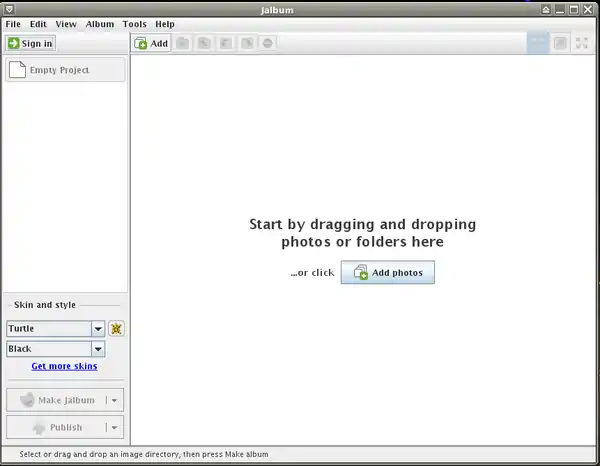
- Run the application from: Menu-> Graphics-> Jalbum.
- 1. Add photos folder to a new project in two ways:
- a. drag a folder from an open file manager window and drop if off in jalbum window.
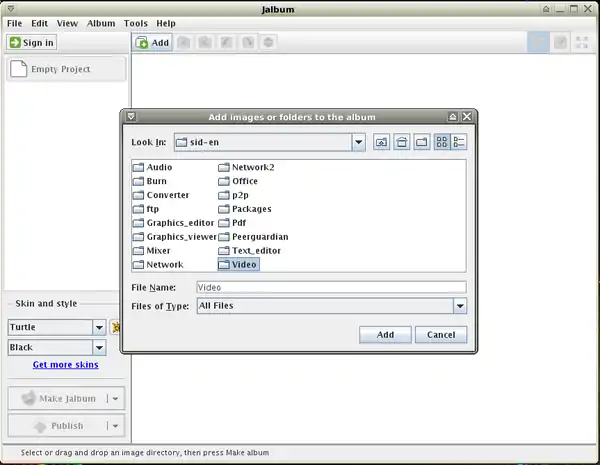
- b. or just click on "Add".
- 2. "Skins and style" option on left panel - choose your skin and it's style.
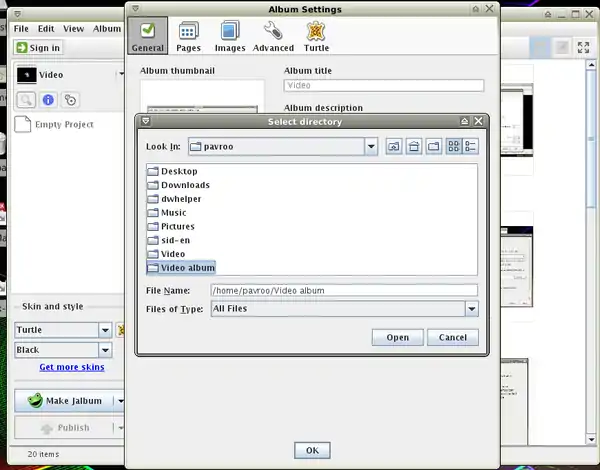
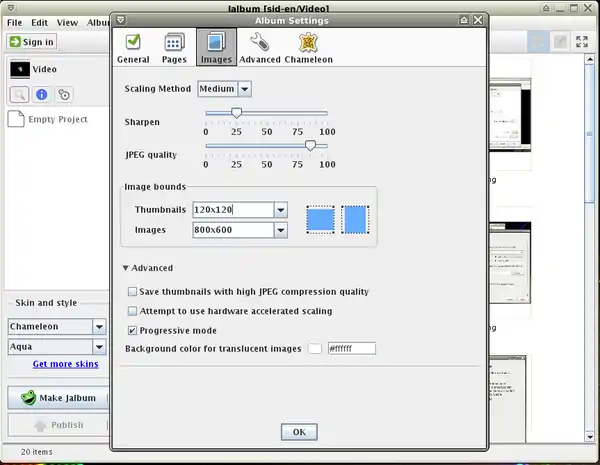
- 3. Next click on "toothed wheel" icon - configuration.
- a. First tab "General" - change output directory
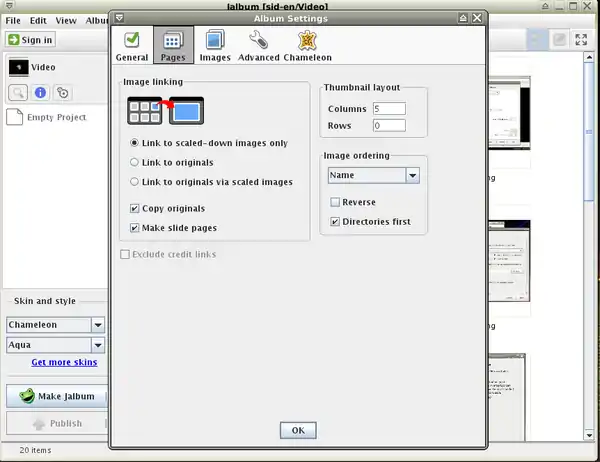
- b. Next tab "Pages" - you can change thumbnails colums and rows numbers and it's ordering.
- c. "Images" tab - choose images quality and size.
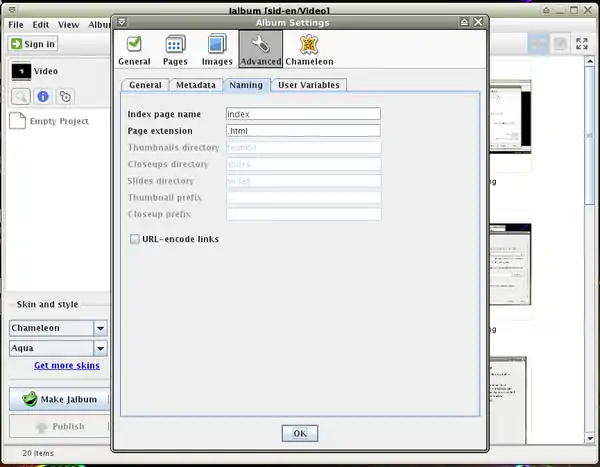
- d. "Advanced" tab-> Naming - change the main page name.
- e. "Chameleon" tab - you can make many individual settings.
- f. If all your settings are fine close the window clicking on "OK".
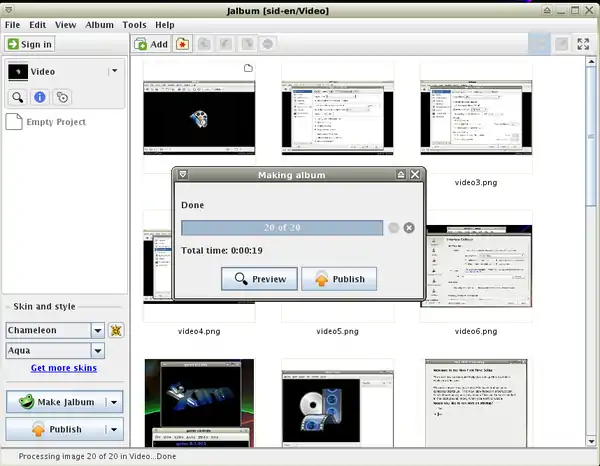
- 4. Now click on "Make Jalbum" to do so.
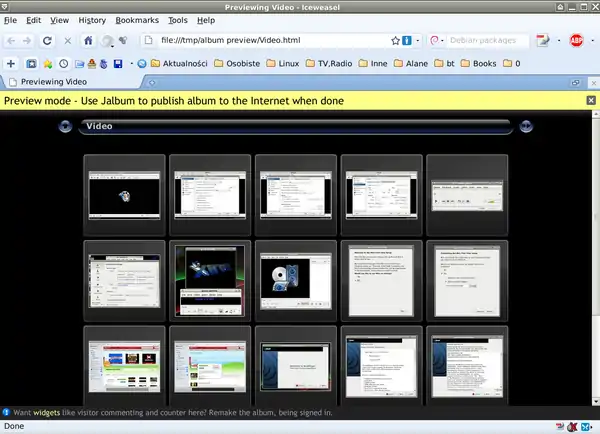
- 5. If you want to check the result click on "Preview" - it'll open the album in default web browser.
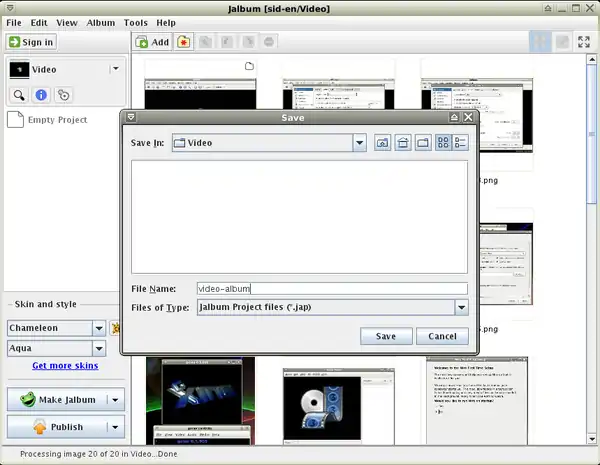
- 5. Save the project before closing Jalbum down: File-> Save Album Project As...".
Publishing
- When your album is ready you can publish it sending out to any hosting server.
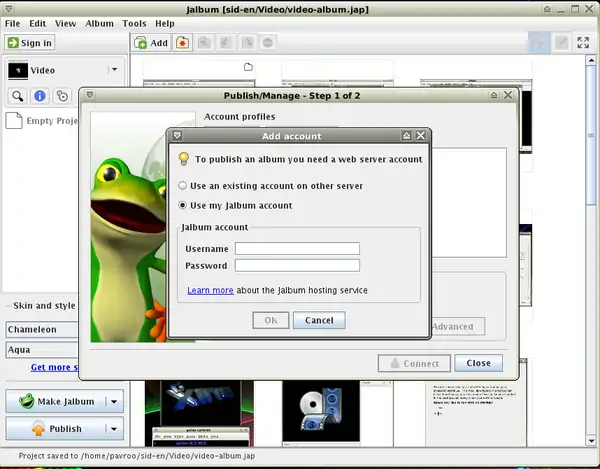
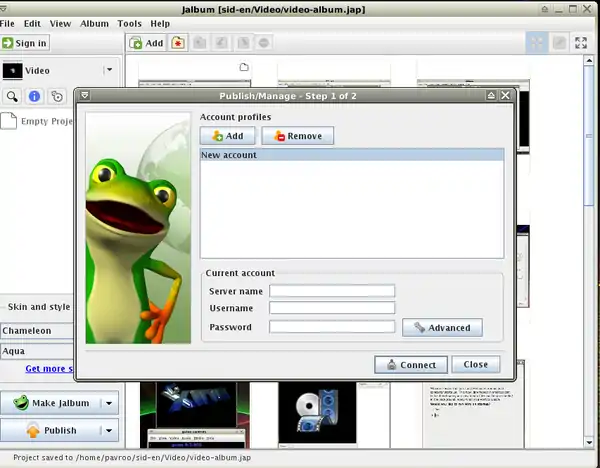
- 1. To do that click on "Publish" button on left panel.
- 2. If you have Jalbum account type your name and password.
- 3. Or use existing account on other server.
- 3. Anyway you can send your album out using any different ftp client: Sidux/Ftp clients
Editing
- Adding new photos to existing project (to photos folder) you don't need to make the album from the beginning.
- Just open saved project and click on: Make Jalbum-> Make Changes - the application will over write existing
- album making new one.
- Don't forget to over write the album on your hosting server too.
- Home page: http://jalbum.net/
- Jalbum on Wikipedia: http://en.wikipedia.org/wiki/Jalbum
This article is issued from Wikibooks. The text is licensed under Creative Commons - Attribution - Sharealike. Additional terms may apply for the media files.