Compositing is the combination of multiple sources of visual input into a single, final image. This is common functionality in expensive, commercial video editors. Some of these (such as Adobe After Effects) use a layer-based compositing engine. Others (such as Apple Shake, The Foundry's Nuke, and eyeon fusion) use a more powerful node-based compositing engine. Blender features a very advanced and powerful compositing engine through the use of the Nodes Editor window. Although the challenge of learning to use nodes may seem intimidating, it can be very rewarding because of the professional-looking final products that can be easily produced.
Compositing Example
In this tutorial, we will see how compositing, combined with render layers, can produce some effects that are difficult or impossible to achieve just by straight rendering of a 3D model.
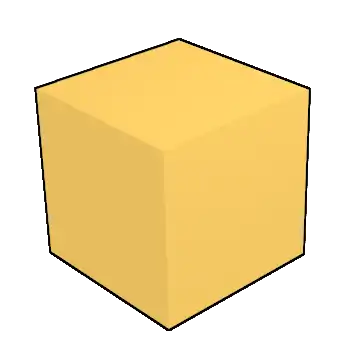
Start with a new Blender document. For a change, let’s use the default cube. Assign it a new material. Keep all the settings at default, but in the Shading panel, set the Emit value to 1.0 and give it an interesting diffuse colour.
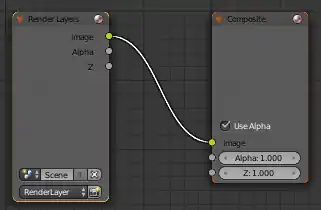
Go to the Render context ![]()
So far, not very exciting. Now go to the Render Layers context ![]()
Now open up a Node Editor window, and look for the three icons to the right of the menus, showing what kind of nodes to edit: ![]()
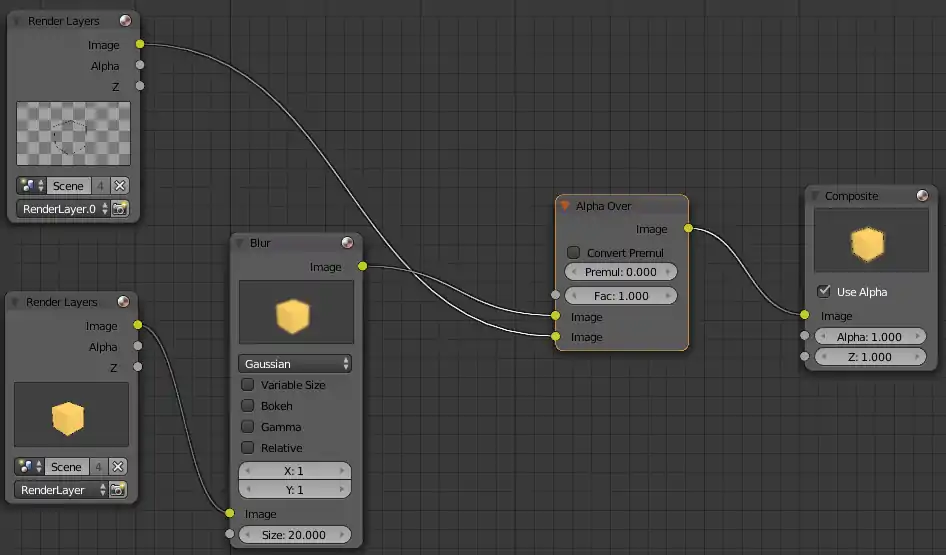
Add another Render Layers node. From its layer popup menu, select the second render layer you created, the one producing the edge outlines (which should be called “RenderLayer.001” if you didn’t change its name).
Now, add a Blur node (Filter submenu of the Add menu). The default Gaussian kind of blur will do fine. Put nonzero values (e.g. 1) into the X and Y fields (otherwise the blur Size value will have no effect). Give it a Size value of, say, 20. Connect the Image output of the first render layer (the one doing everything except the edge outlines) into its Image input.
Add an Alpha Over node (from the Color submenu of the Add menu). Feed the Image output from the Blur node into its upper image input, and the Image output from the second render layer (the one producing the outline edges) into its lower image input. Leave the Factor at its default 1.0. Connect the Image output of this Alpha Over node to the Image input of the Composite node (the final output).
When you are done, check that your connections look like this (remember, the exact positions of the nodes are unimportant, except for clarity; what’s important is the connections between them):
The effect of this is to blur the rendering of the cube (apart from the edge outline), and then put the edge outline back on top of it. If you hit F12 to render now, you should see something like this:

Things to Try
What happens if you put different values into the X and Y fields of the Blur node? Try making the X value different from the Y value.
What happens if you get the inputs the wrong way round into the Alpha Over node?
Try the other blur types available from the menu in the Blur node.
Other Tutorials
Composite Nodes Video Tutorial (2.49b): http://www.youtube.com/watch?v=AAnxoJsdAAM
Vector Blur Tutorial (2.49b): http://www.youtube.com/watch?v=qY4WcNgEXv8
Depth of Field (DOF) Using Composite Nodes (2.49b): http://www.youtube.com/watch?v=HBomEv-bEtw